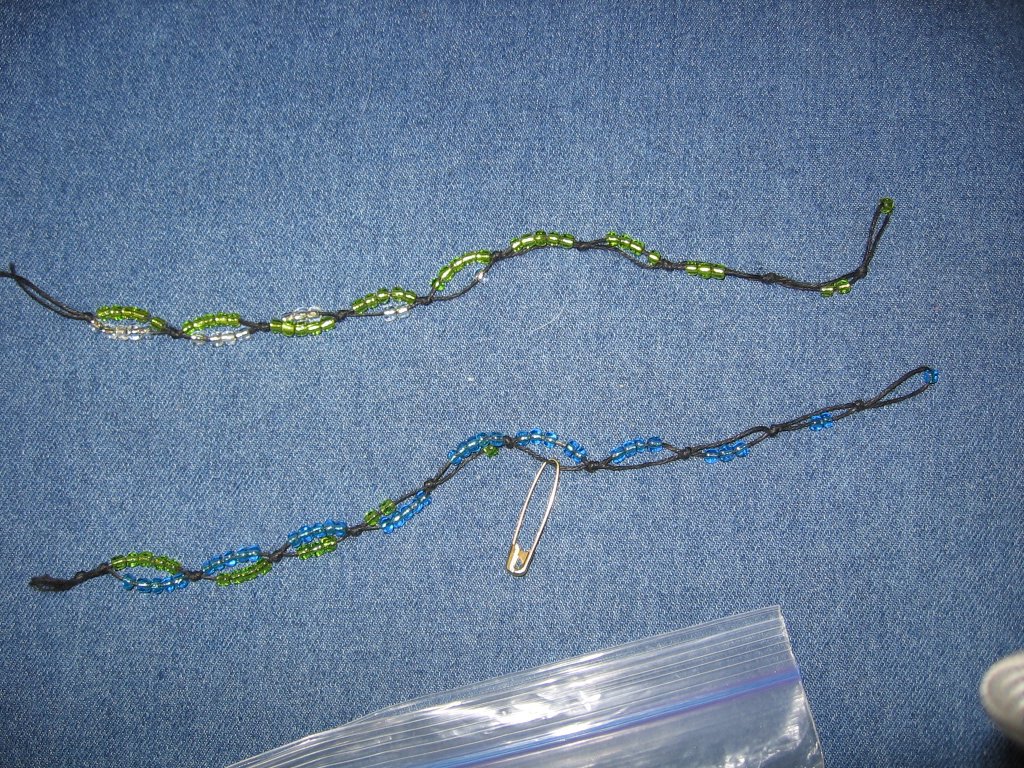
You can whip up a knitting abacus in about 20 minutes or so. Take a close look - click on the picture for a larger view – it’s a long piece of fine, strong twine – waxed linen in this pic – folded in half. Thread one bead – tie an overhand knot, leaving a goodly sized hole for any needle you might want to use. Thread on two beads, tie a knot, three beads – and so on, until you tie the knot after 5 beads. Now, thread 5 beads of one color onto one side, and one bead of another color onto the other side, tie a knot, 5 beads of one color, two of the other color, and so on, until you have 5 of each color. The different colors make it easy to tell, at a glance, which hole you are on. Trim the ends.
Now, you are ready to knit. Knit two or three stitches, and thread your right needle through the first hole. The “one” bead means “row 1.” When you get to the marker again, slip it from the left to the right needle, but pick up the hole with two beads. I mostly knit in the round – if you are knitting back and forth, you might find it more sensible to put the marker more to the middle of your piece. Continue until you get to row 10. Now, if your knitting has more rows than 10, when it comes time to mark row 11, you might want to leave the 10 hole on the needle, and pick up the 1 hole. For row 12, leave the 10 on the needle, and pick up the 2, and so on. I prefer to move a safety pin, to mark the 10’s place. If the number is, say, 15, then there’s a safety pin in the 1 hole to mark the 10's place, and the needle is in the 5 hole, to mark the one's place. If you do it this way, you will have to move the safety pin every 10 rows, but this certainly isn’t difficult.
I like this stitch marker much better than any I’ve tried before. I never can remember to twist the little barrel marker, and I never can remember to make a tick mark on a piece of paper, but I can’t ignore this marker when it comes around again. Just slip it from one needle to the other, moving through the holes. Simple!


2 comments:
Nice idea. Thanks for the clear instructions.
Ingenious! Thanks so much! I love this kind of slip-on-the-needle counter, and this makes so much sense to me.
Look forward to getting out my beads.
Carol
Post a Comment