It worked!


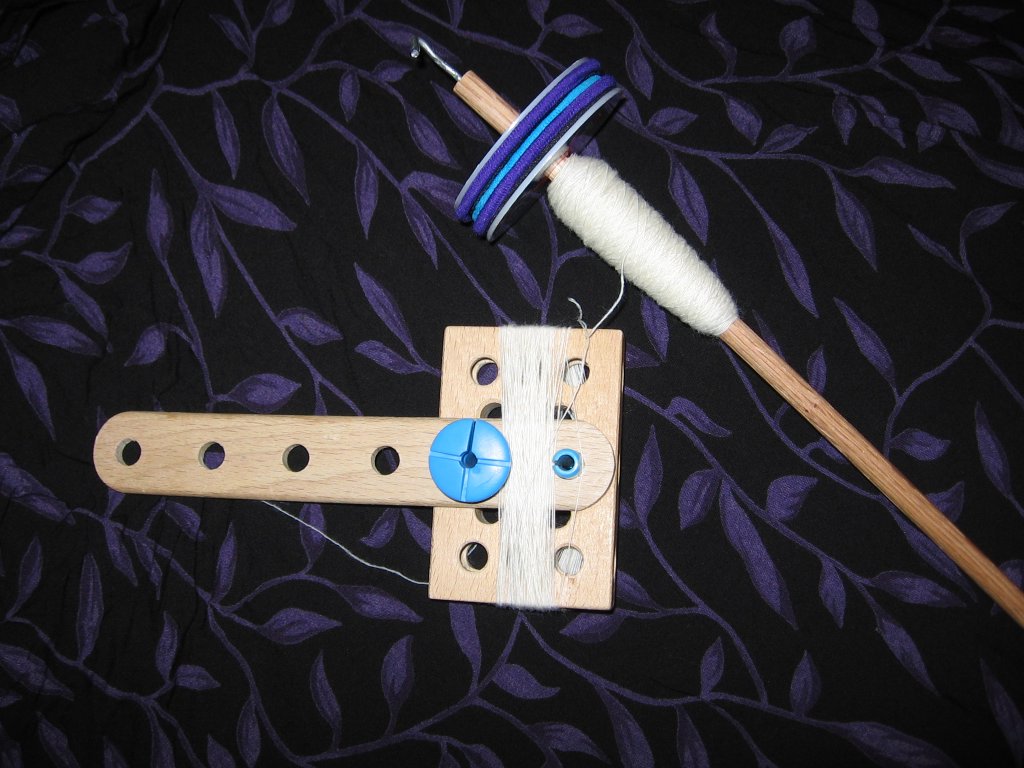
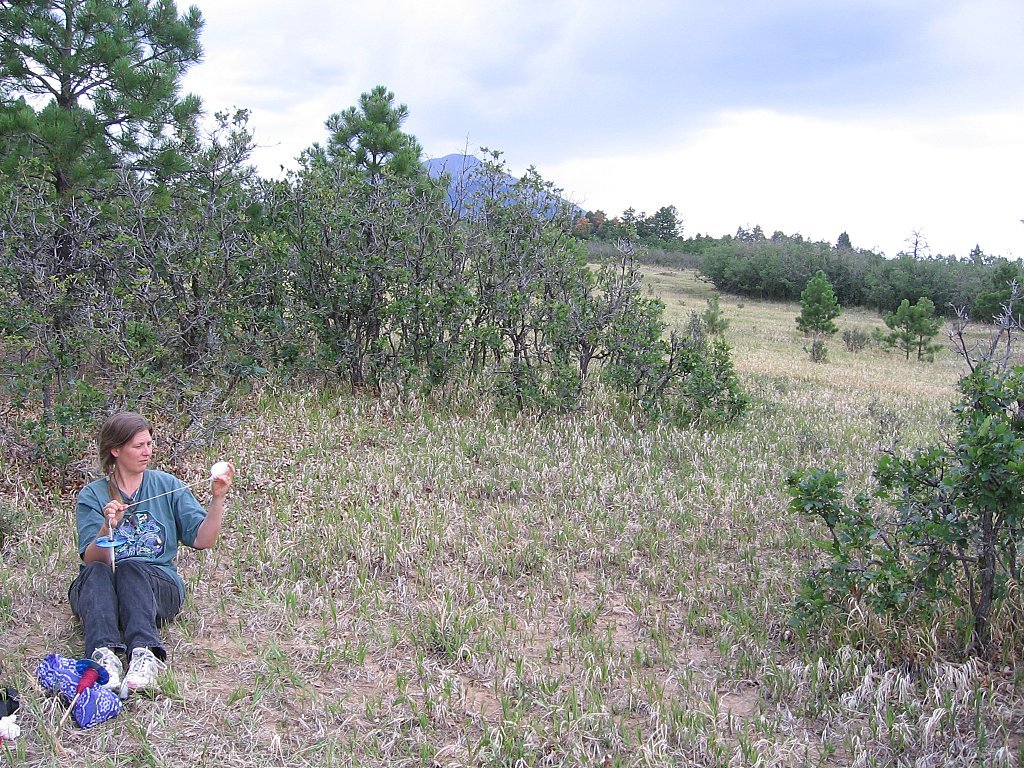
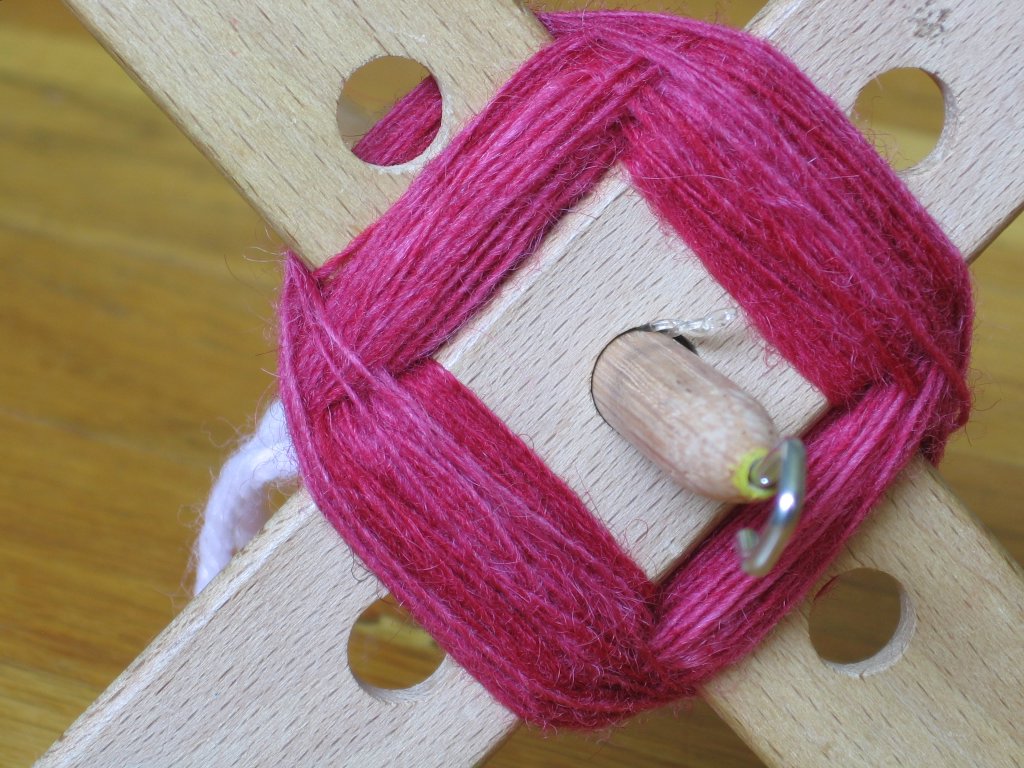
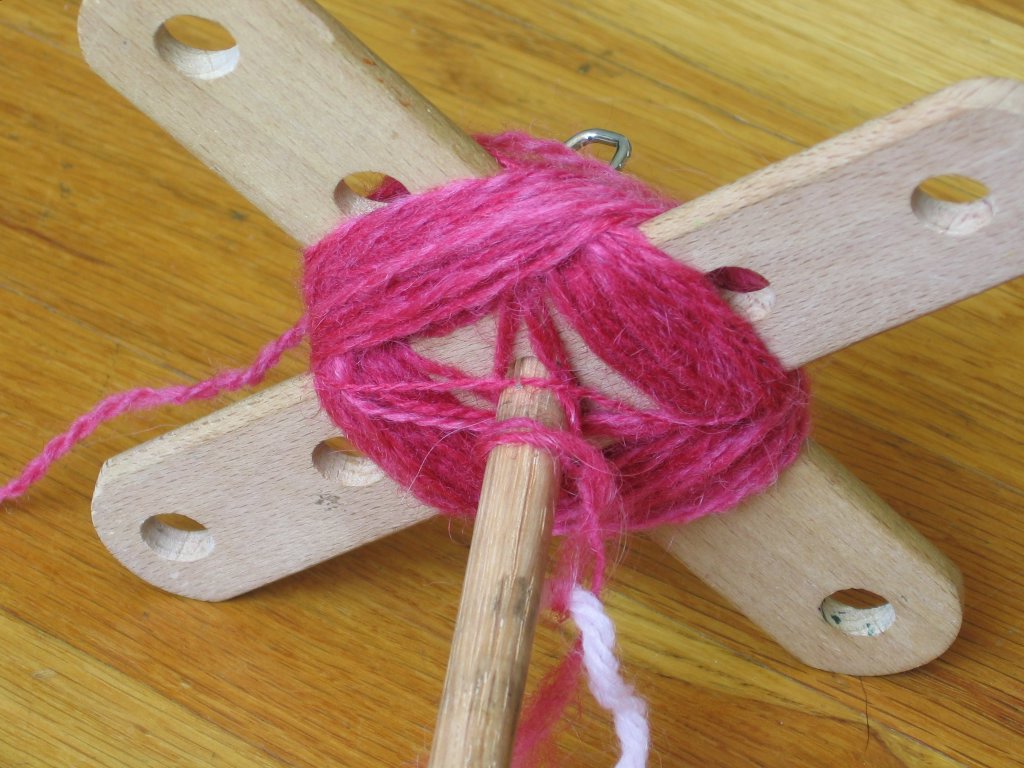
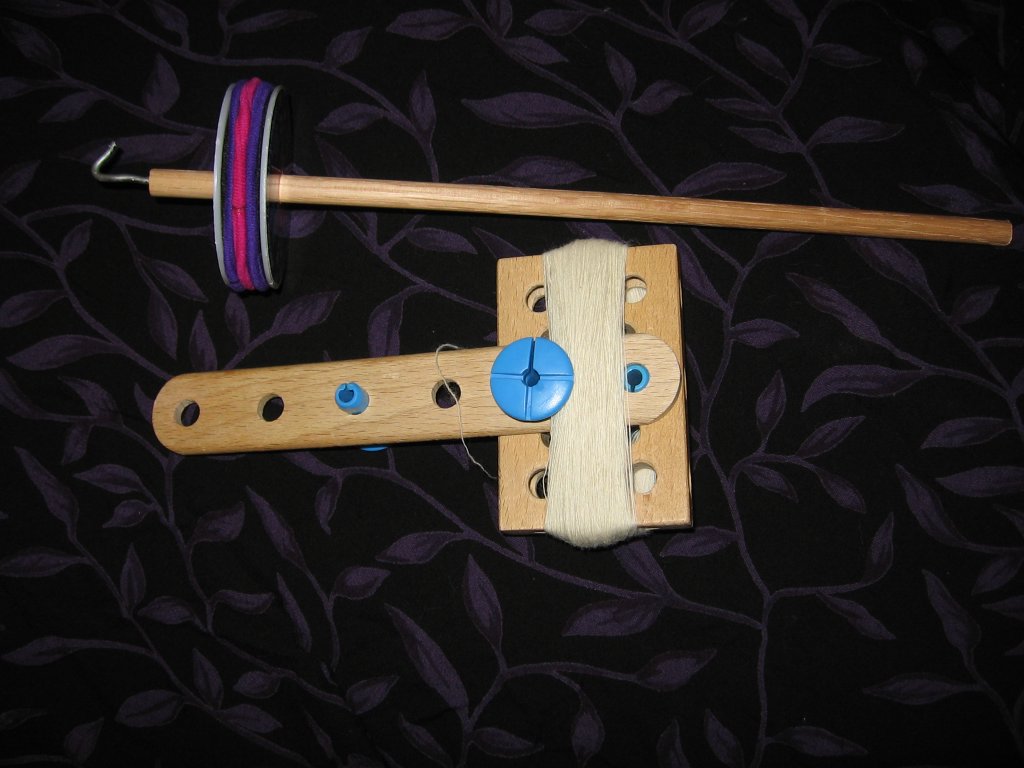
It worked just fine! Gosh, this plying bracelet is too cool! Who invented this Andean plying method, eh? Someone who was really thinking, that’s who!

The only problem with my Brio Mec Plying Paddle is that the plying bracelet was too small to actually get over my hand, until I had plied half of it. I had to hold it across my palm, and that was going to be nice and sweaty before long. I was happy when I could slip it over my hand and ply in the proper, Andean way.

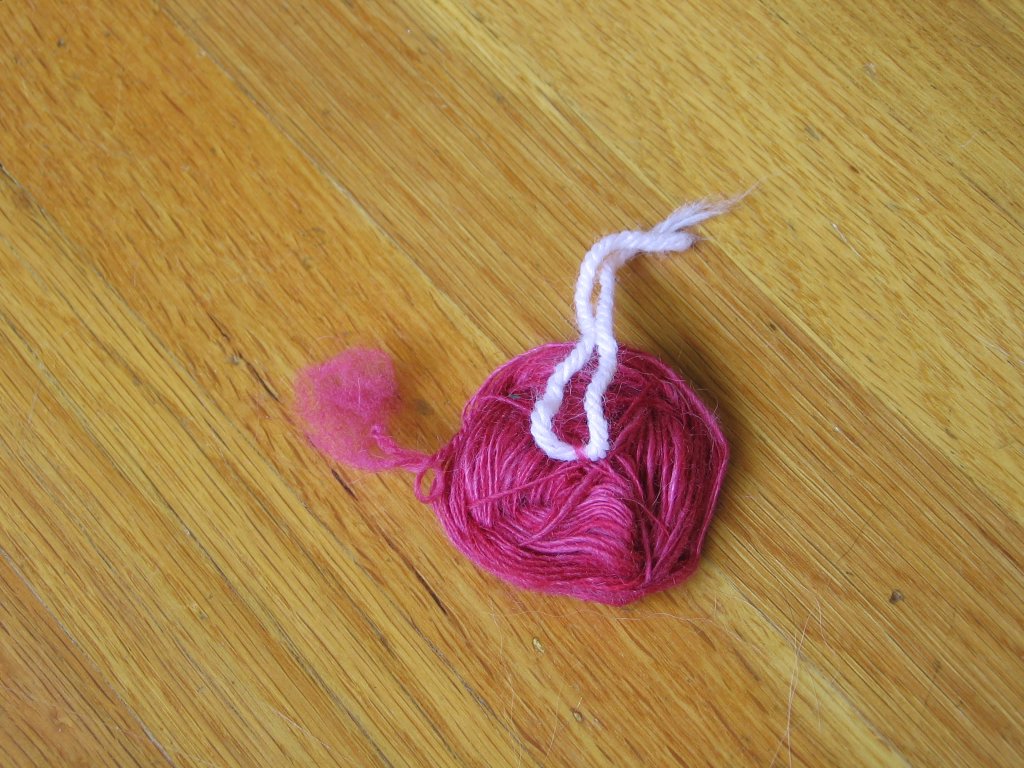
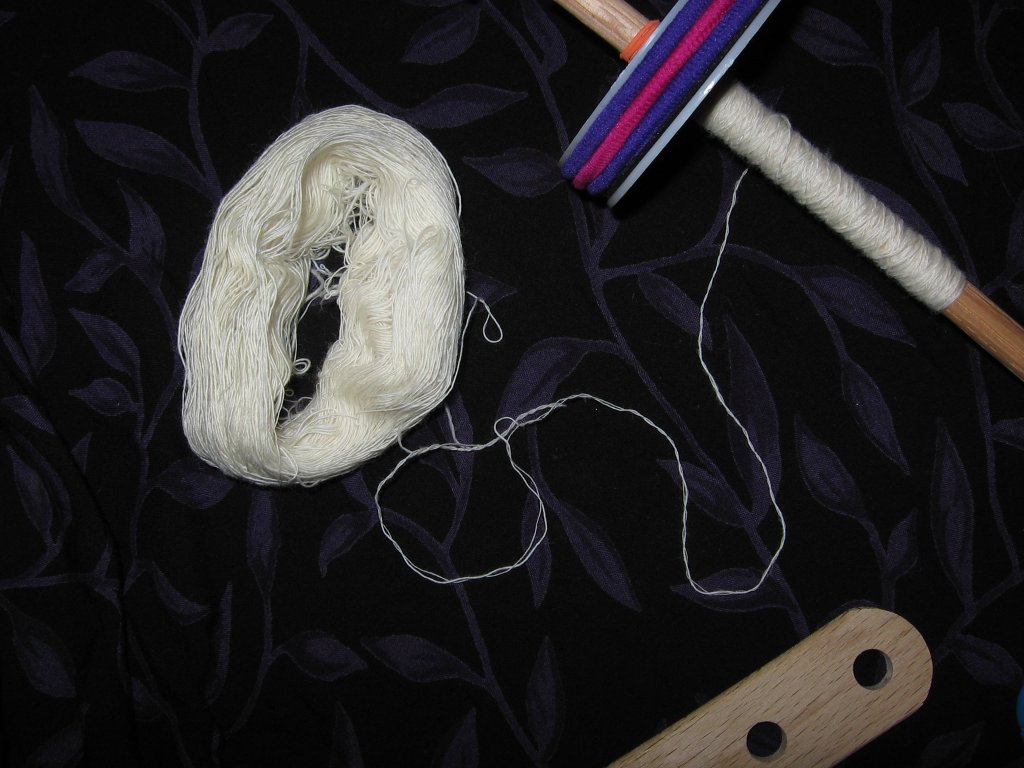
I have trouble, however. I don't think I plied it enough. I plied until it backtwisted a little bit. I know that this isn't the proper term - one can ply until it still twists in the unplied direction, continue plying until the yarn hangs with no twist at all - the so-called "balanced ply" which is never really balanced for me - and continue twisting until it twists in the other direction. I've been doing it this way, overplying just a bit, and then, after washing, it hangs perfect. Well... I washed it, and my little skein broke out in boucle's!


Help! Is there a fix?

Anyway...

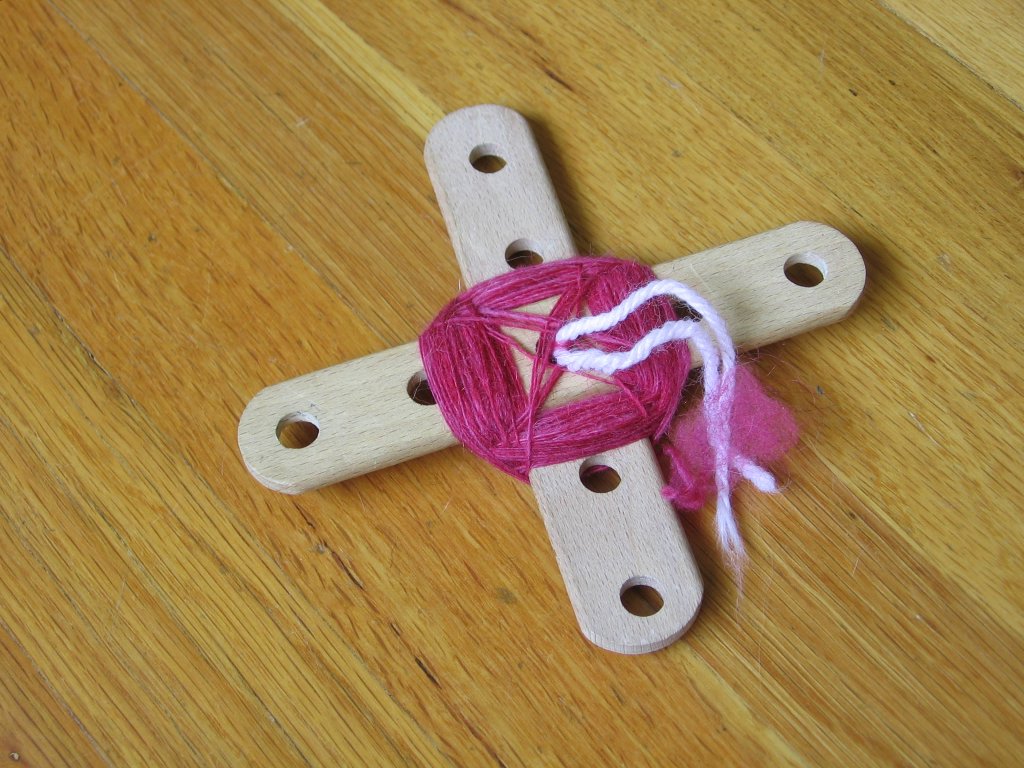
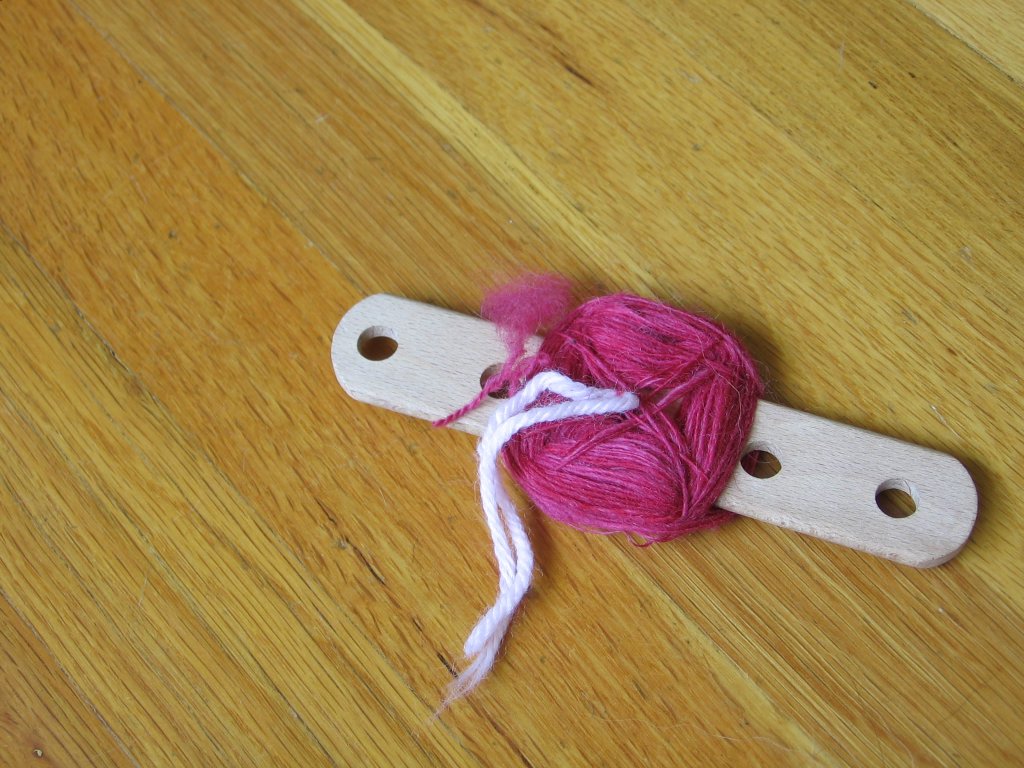
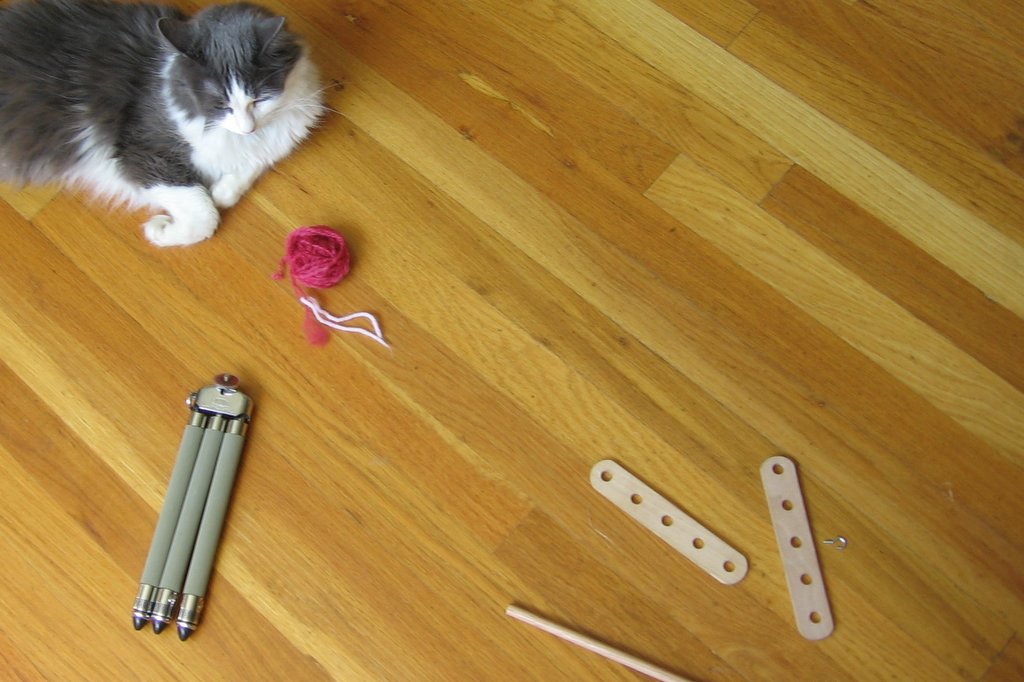
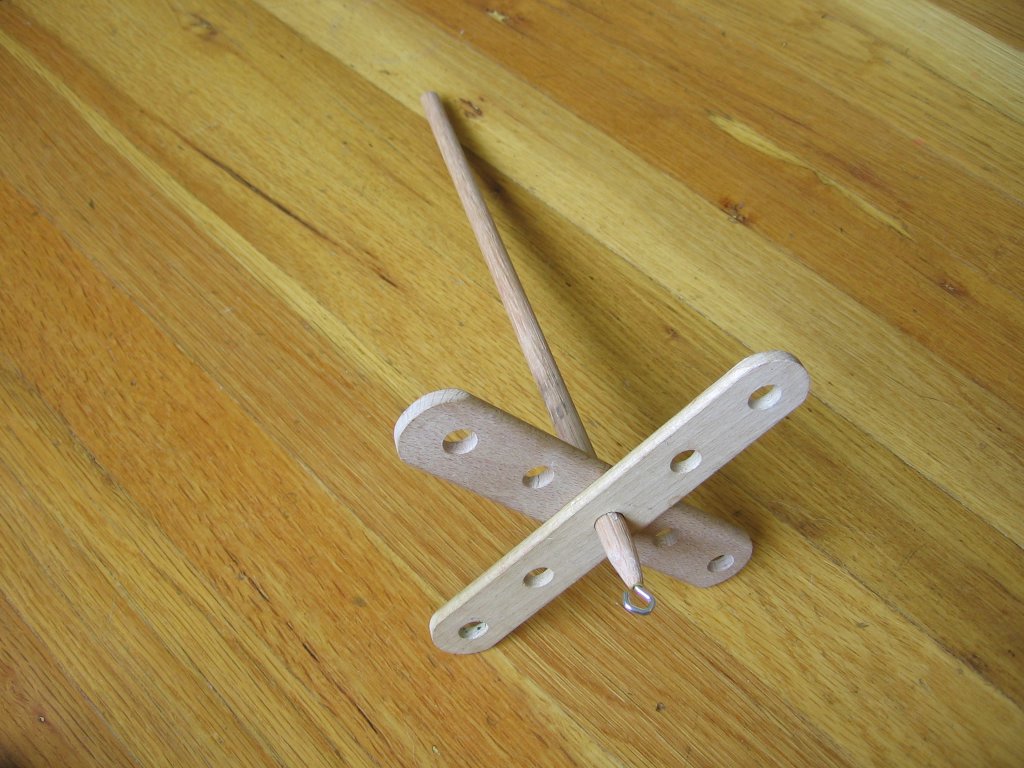
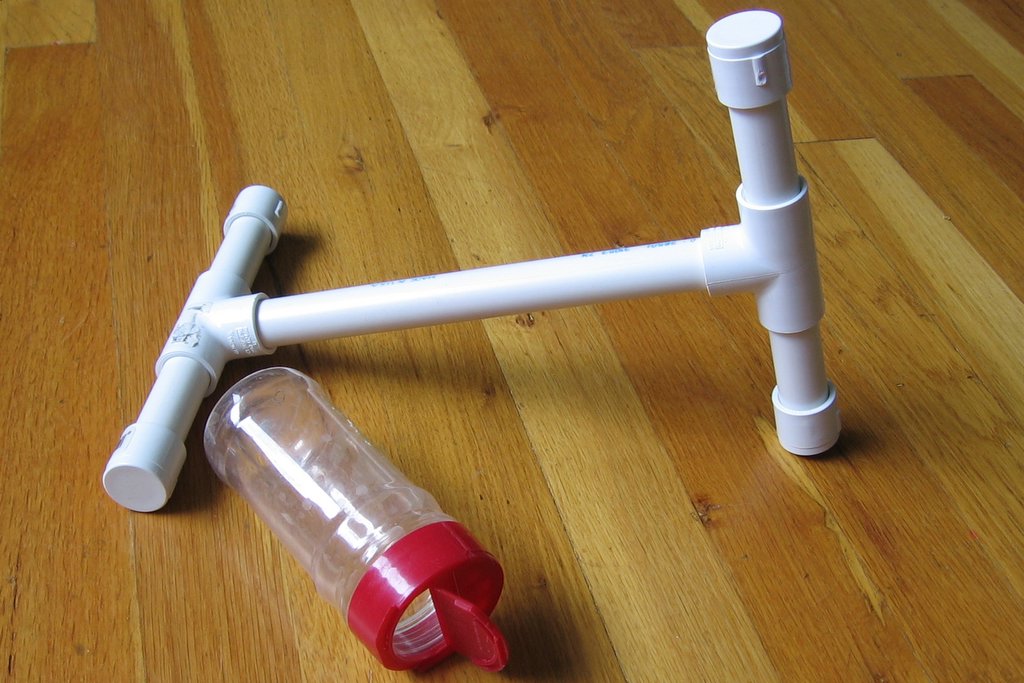
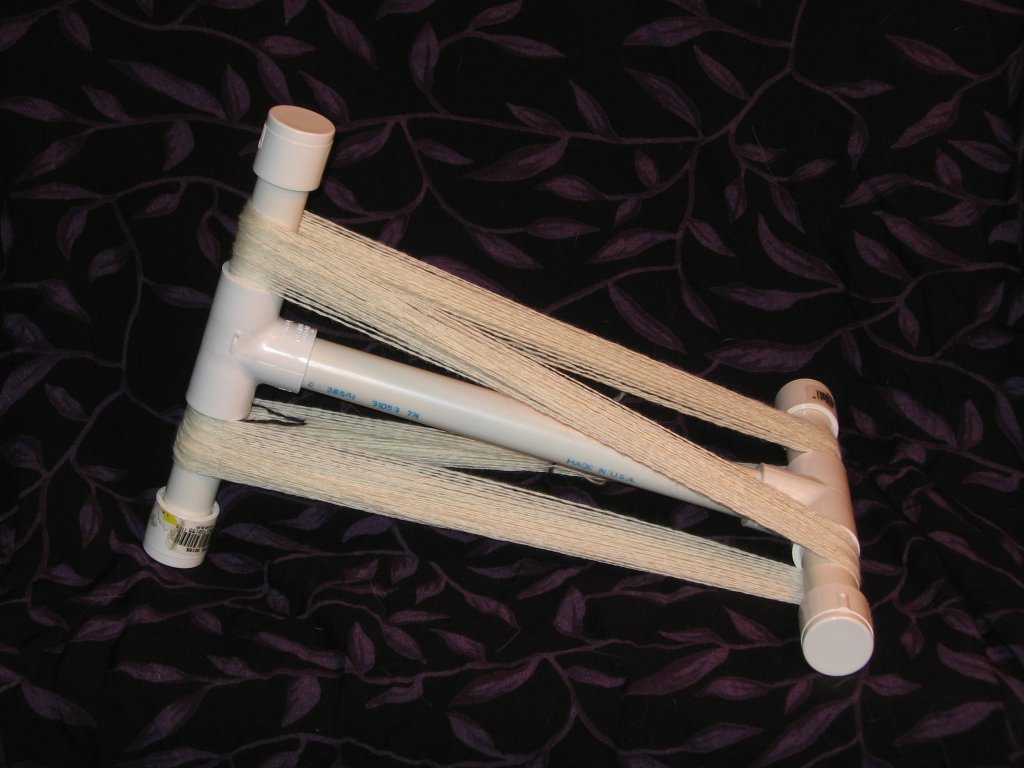
I also made a little Lazy Kate doohickey for unwinding my plied skein onto the niddy noddy.


What do you folks out there with no building toys do when you need to spin up a quick skein? *smile*

Brio Mec Plying Paddle


Think this will work? I don't know why not, do you? I'll let you know.... Posted by Picasa

What a WONDERFUL day!

A few weeks ago, my friend, Annette, casually mentioned that she thought it would be neat to learn to spin. Poor Annette! Little did she know that I would actually *make* her a spindle, and actually *guilt* her in to learning how to use it. I mean, how could she say no? heh heh heh…
We visited her house in Southern Colorado today, and what a fine time was had by all.


First, Grace picked up a new boyfriend.


I tell you, Howard all but made googly eyes at her! He’s tall, dark and handsome, and this boy had it baaaaaad. His mama, Honey, is keeping a close eye on the developments. (Grace is tall, but she’s not THAT tall – on flat ground, his back would be a little higher than her shoulder.)

Next, we hiked up to a high mountain meadow with our children


and dogs


and a watermelon. Thanks Sam for hauling it for us!


This was my first trip to this meadow, and all I can say is, WOW!


So... I sat Annette down and taught her how to spin. Just like that *snap fingers* she got it!

She’s a complete natural. Check out the Eastern Spanish Peak in the background. WOW!


My son, Sam, learned how to use the sling that his friend, Spencer, made for him. You can just barely make out the sling - extending from his right hand, up towards the upper left hand corner of the photo. This sling is really nice, and we were all impressed by the nice ZING noise that it made.


Sam also picked up a friend along the way – a tiny baby Horny Toad. Who would have thought that there is a space in a Horny Toad’s life when he or she can be described as “cute” but this little guy certainly is!


Back down the mountain to Annette’s house – see it – way down there? Her house is the larger of the white spots, to the left of center. Wow.


What a wonderful Day! Good friends, dogs, horses, hiking, mountains, meadows, spinning, and to end it all, an awesome electrical storm which necessitated candlelight at dinner – lots of my favorite things all at on one day! Thanks Annette!!! We had a great day! I hope you continue to spin!

Grace Sews, too!


Teenagers and their cute purses! Grace designed and sewed this purse, and it's just too cute!


Cute little side pockets, and red embroidery trim.


Hot pink lining complete with cell phone pocket. In fact, I think that it was the cell phone which precipitated the whole project. She used a bandana for the lining, and left-over denim fabric from when I re-covered the playroom sofa for the purse itself. Good Job! (She tested it - it's large enough for a book. Whew!) Posted by Picasa

Brio Mec Turkish Spindles

You can file this under, “Now, I’ve seen it all…” Last Saturday, I attended a wonderful Fiberlicious party at my friend, Peggy’s, house. At the party was this really nice lady, Julie, spinning away on her spinning wheel. Well, Julie mentioned that she doesn’t spin only on a wheel, that she uses drop spindles too, and that she’s having fun these days with her Turkish Spindle. I thought to myself, “Turkish Spindle? Will wonders never cease! Remember to google….”

 
I did remember to look it up on Google, and then, when I learned what a Turkish Spindle is, I thought to myself, “How wonderfully clever! I bet that Brio would work perfectly!” This has been my project of the day. Actually, this has been my project of the afternoon, because it all went very quickly.


It seems that all of the Turkish Spindles I saw online were bottom drops. This one is a top whorl, drop, and it works fine. My goal was to spin a center pull ball, not to be historically accurate. If I wanted to be historically accurate, would I be using Brio Mec?


I only spun a little bit of fluff, just to test it out, and lo and behold, it actually does make a center pull ball! How cool is THAT???


First, I spun a bit of singles, took the spindle apart, then I used the center pull ball make a 2 ply with, plying from the inside and the outside of the ball. The plying step resulted in a neat, tidy, little center pull ball of ready-to-knit-YARN! It was really easy, too! Yippee!

My only problem is that now, I want to zip it out onto my niddy noddy and wash it. This sort of defeats the purpose, doesn’t it?

I wonder if this would work for a really big bit of fluff, so that I can actually spin up a skein? Hmmm…. Back to the drawing board. Or, rather, back to the toy box!

 
…I turn my back for the tiny bit of time it takes to make a tostada, and LOOK – kitty intereference!

 
Here you can see the spindle, in all it’s naked glory. The arms are wedged into place with a bit of beading elastic, but in the meanwhile, I tried it with a small rubber band, and it works perfectly well.

New blog - tutorials

I get so many requests for detailed instructions about how to make circular needles, that I decided to write a long, detailed, photo-filled blog entry about just this topic.

Please visit me at Rosemary Knits Tutorials and let me know what you think!

It's been a Whole Year! Imagine That!

Today was the day of the Annual Fiberlicious Party, the event where I got infected with the Spinning Bug - last year. I can't believe that it has been a whole year already!

I can state with confidence that last year, at this exact same hour, I was sitting in my living room, in my pink pjs, spinning my little K'Nex spindles and thinking that life was grand. You know what? It is! (And... I have on my pink pjs tonight, too!)


At today's event, I learned how to spin on a spinning wheel! At last year's party, I tried spinning on a wheel, but all I got was a big fat mess. Today, I actually made yarn! I was so excited! My time with my little drop spindles has taught me enough about spinning that the wheel was much easier to manage. It was still an awful lot like rubbing my belly and patting my head, but there's hope.


Look at what I started at today's party - I started a spindle of really fine singles. It was much easier than I ever dreamed it would be. I have absolutely no earthly idea what I'm going to do with this - maybe I'll just ply it up and admire it? Maybe spin up a spindle-full, ply it up and admire that? I don't know, but I am well pleased.


Of course, a spindle full would be about a mile long....


I wonder... would it hold together enough to knit with it single ply? Hmmm.... Posted by Picasa

More Cheap, Unattractive, Plastic Fiber Tools

While we are on the subject, I thought that you'd like to see my Niddy Noddy and my Nostepinde. The Niddy Noddy represents about $3.50 in PVC parts, and the Nostepinde was totally free, after the chile powder was used up, that is. It is the perfect Noste. I stick the end of the yarn in the little door, and wind away. I make perfect yarn balls (see below) so you snobs can cluck your tongues all you want! I discovered that my Noste also makes the perfect support for my K'Nex spindles, so I don't have to haul that coffee cup all over town, lol.

The PVC pipe is practically free, it's the little joints and end caps which are costly - well, relatively speaking, that is. So, I had the hardware store man cut (Yes! He cut them for me! What a nice man!) these lengths, which wind a yard skein, and he also cut a longer center piece, as well as 4 longer arms, so that I can wind a two yard skein. Nothing is glued together, and I just swap out the parts. Sometimes, I use the center part as a Noste too, and I clip the yarn end into place with an end cap. Everything comes apart, so it takes up no room in my spinning bag. It works beautifully.

Cheers!
.
,
 Posted by Picasa