Christmas Clogs!


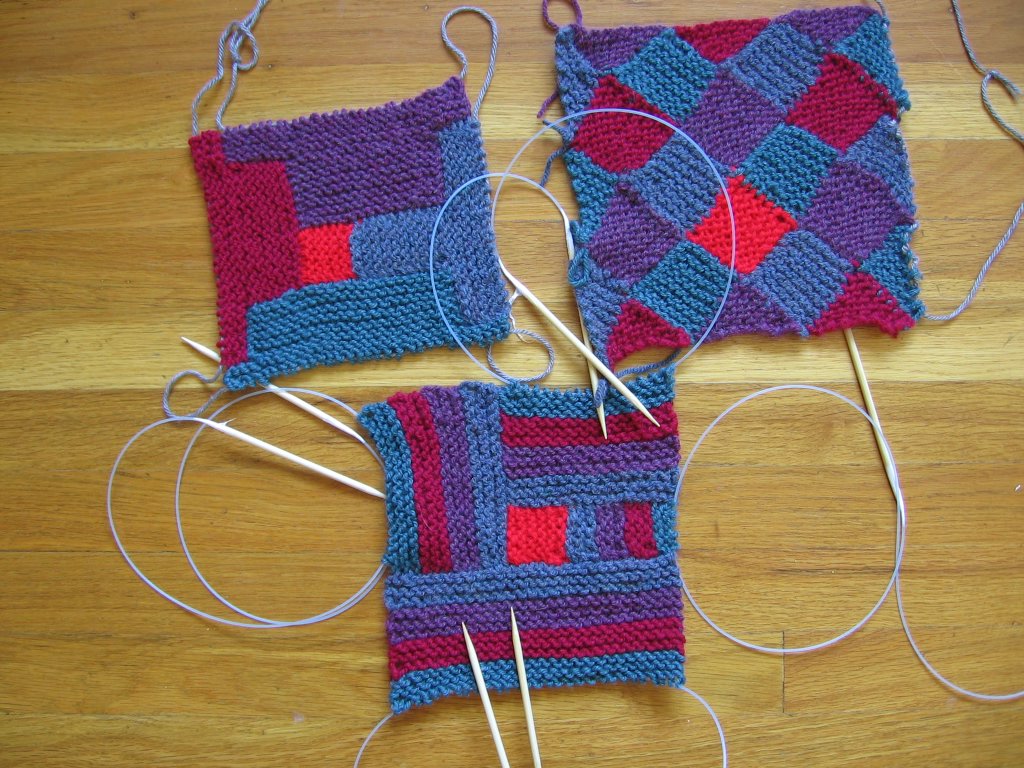
I couldn't be more pleased with these clogs! How do you like them? (They are still wet, and stuffed with washcloths, to hold their shape while they dry.) These are made with the Fibertrend’s Felted Clogs pattern, in Cascade 220.

I started out making a simple pair of blue and purple clogs. After one of them was completed, I thought.... hhhmmmm... and went to my most fave Yarn Store and asked Emily to help me pick out another color, and voila! Perfection! So - I bought more of the purple, and made two pairs of two color clogs – one is a woman’s small, and one is a woman’s large.

The little octopus thingies are really easy - cast on 20 stitches in a cable cast on, then immediately cast off. Move the last stitch to the left hand needle, and cast on 18, then cast off, then 16, and so on, until you get to 6, then cast on 5, then 4. Switch colors along the way, if you like. Of course, you can do any number combination that you like, but this is how I did it. The “fingers” will be in a row, from longest to shortest, sort of like a fringe. Then, curl the base so that the whole thing looks like you want it to, and run the tails of the yarn through the base in such a way that it holds a more-or-less flower shape. Then, felt with the clogs.

When knitted, they curled so nicely, due to the cast-on and cast-off being a bit different in tension, but when felted, they came out completely straight. Bummer. So, when they were still wet, I twisted the fingers really hard, and let them dry. When I sew it all together, I'm going to put some stitches, here and there, to sort of hold the curl in place. I hope that they stay looking like silly, curly thingies.

I hope that the recipients are happy, too. This was such a fun project.

You want to know what I'd do differently in the future? I'd knit the tops of the clogs in one color, the outer sole in another color, and the inner sole in a third color, and this would be simple – just buy three different balls in three colors. Or, make them two-color clogs, like you see here, but with RED inner soles. How about big felted flowers, instead of the curlie whirlie thingies? These clogs also knit up nicely in stripes. If only I could sit around and knit all day long!

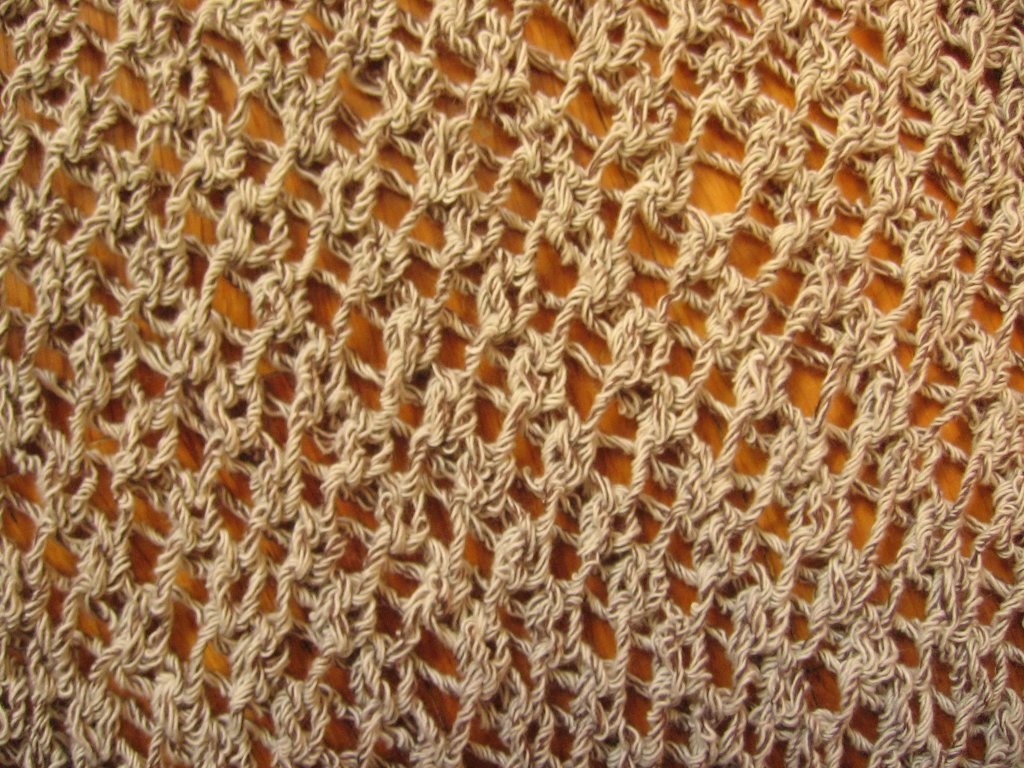
These are knitted with Cascade yarn - my new fave - it is so soft, for times when you don't want to felt, but gosh, it felts really nicely, too. It comes in SO MANY colors. Click Click Click - that's my brain coming up with more ideas - click click click.

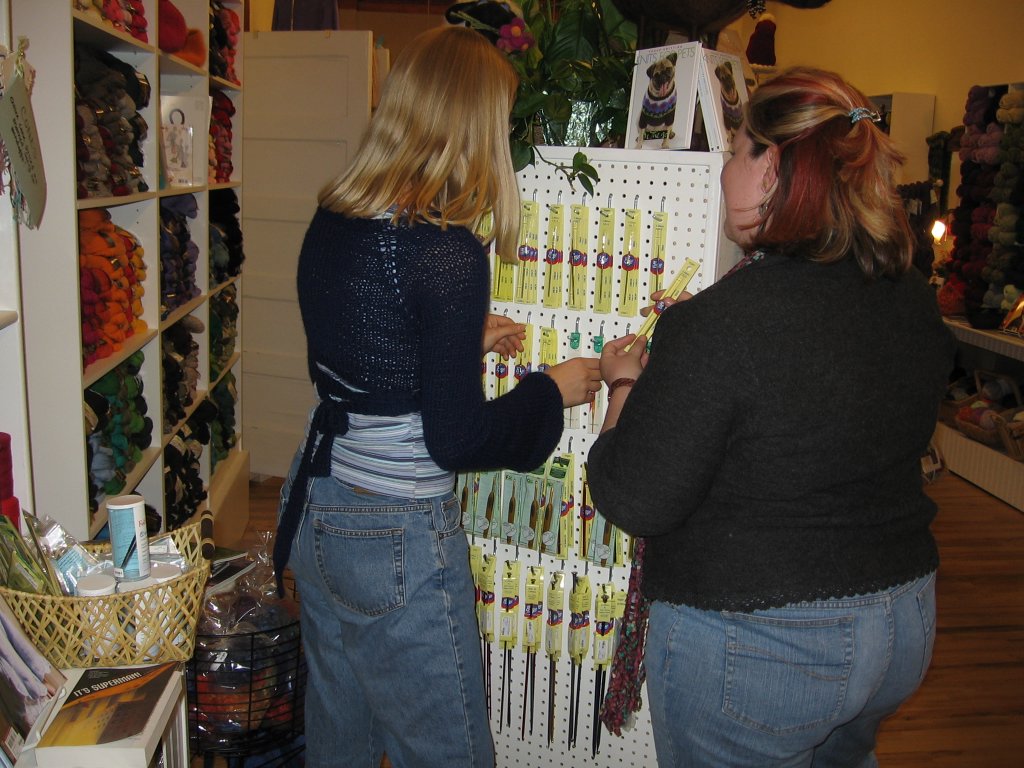
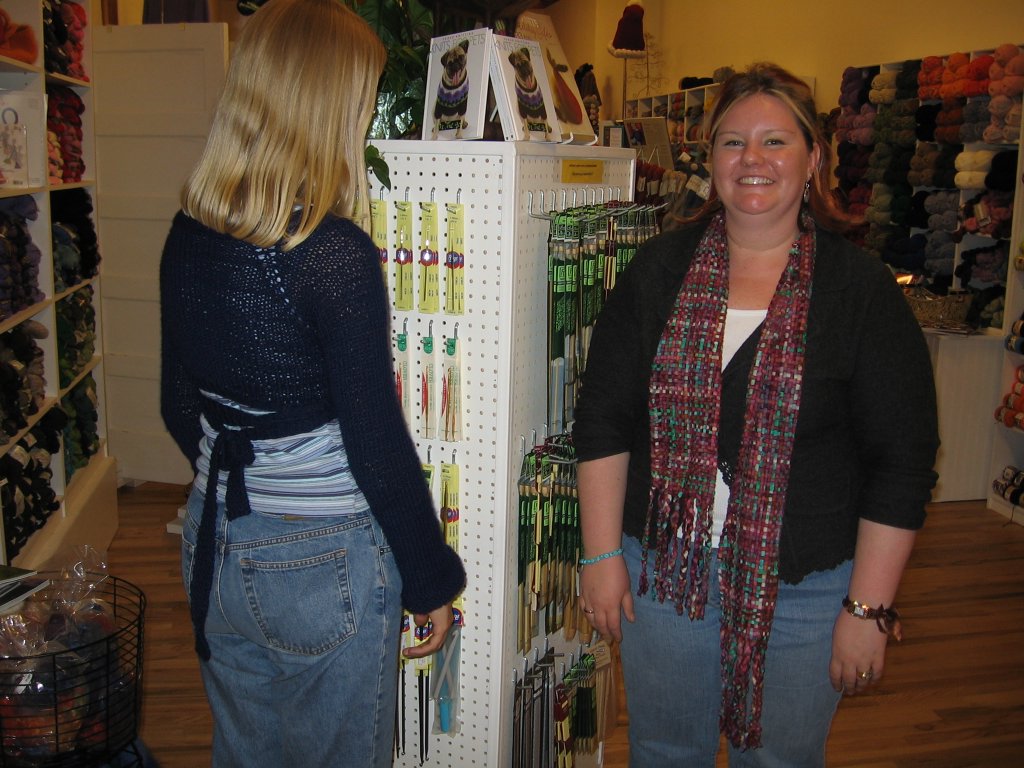
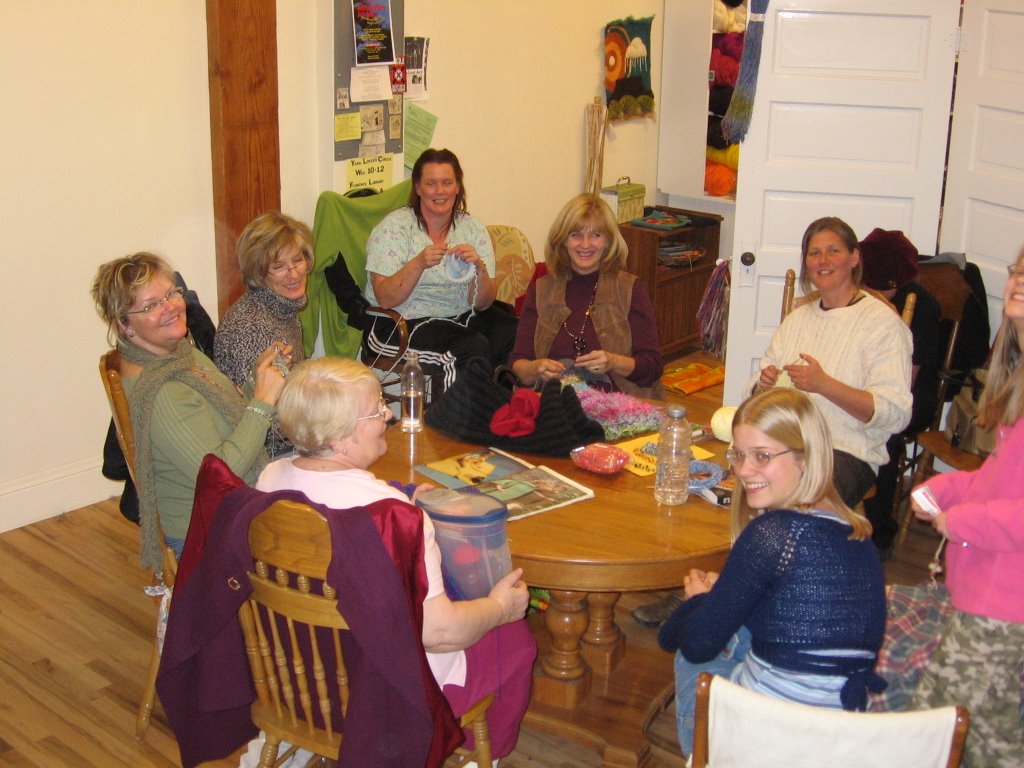
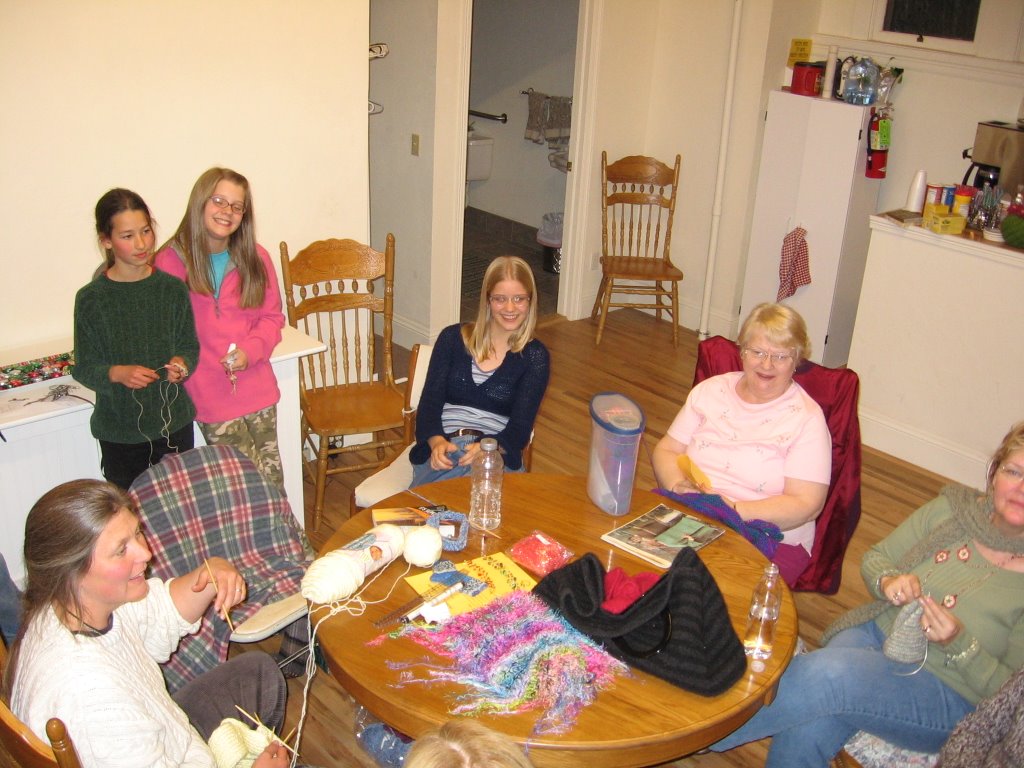
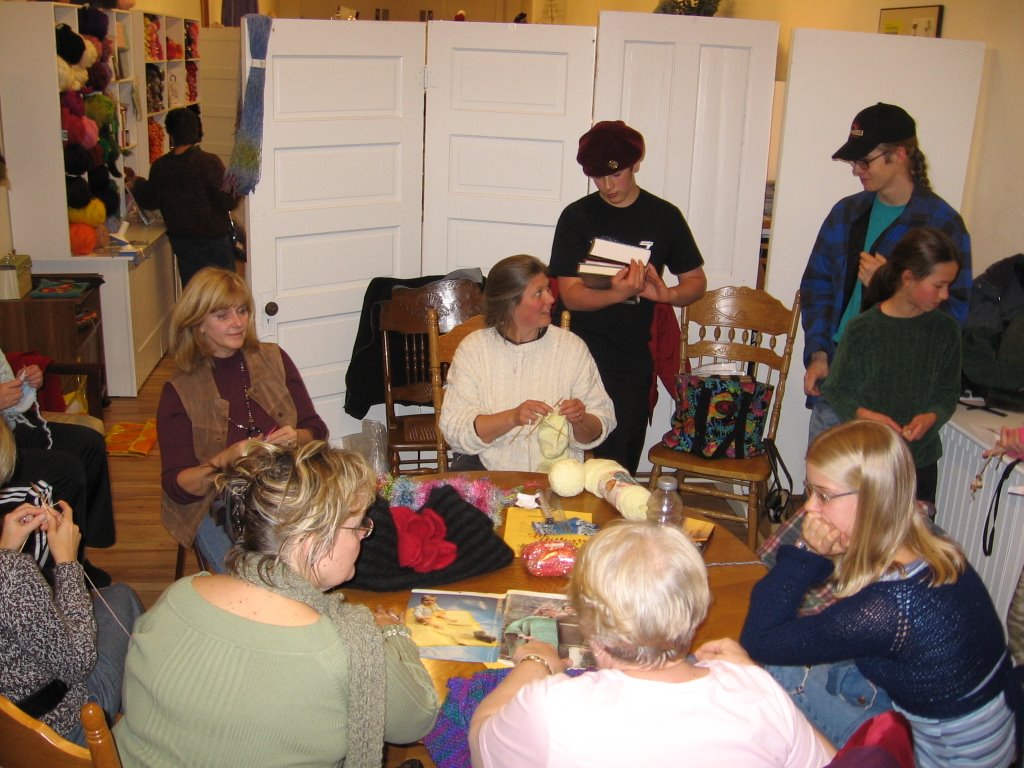
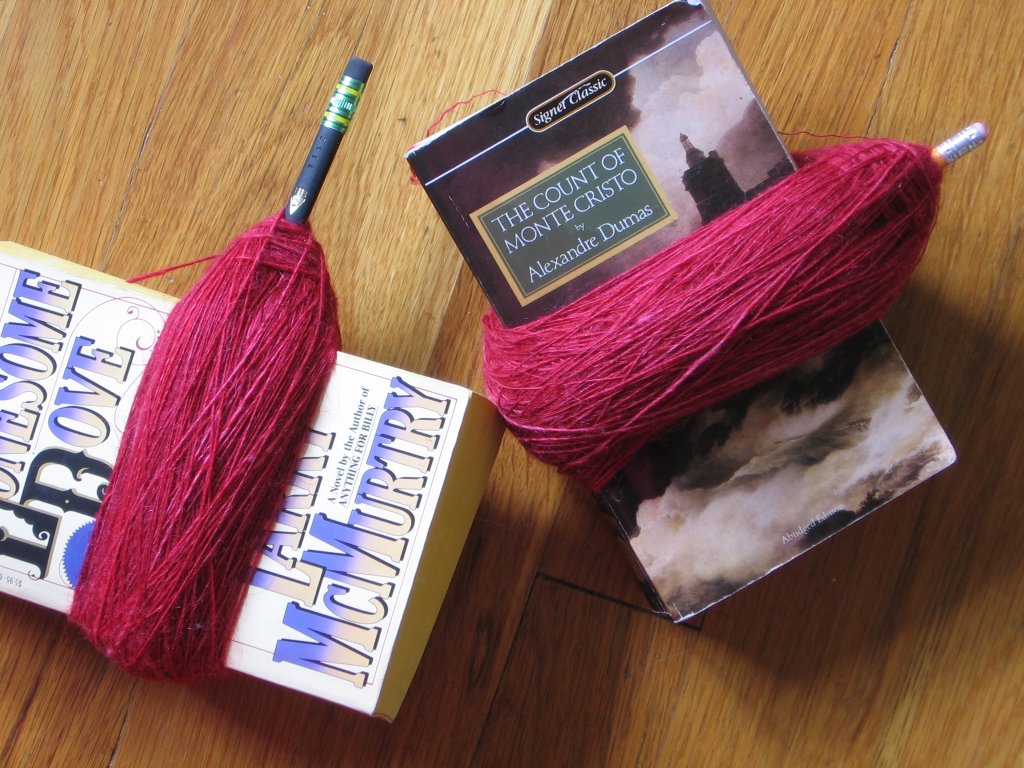
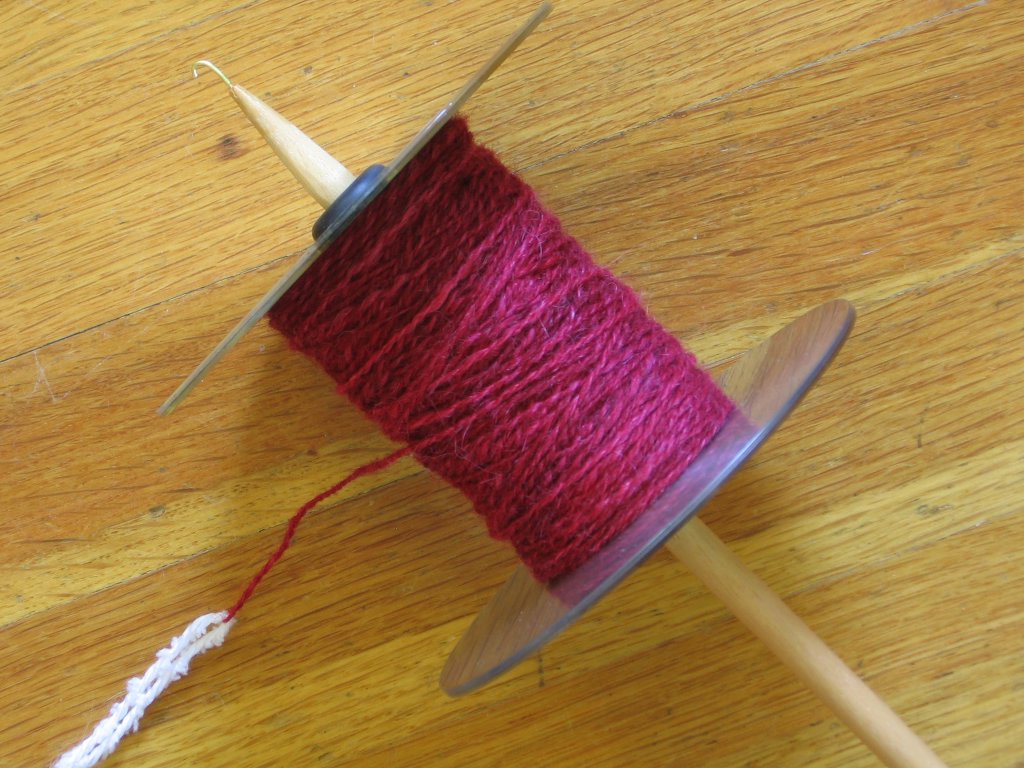
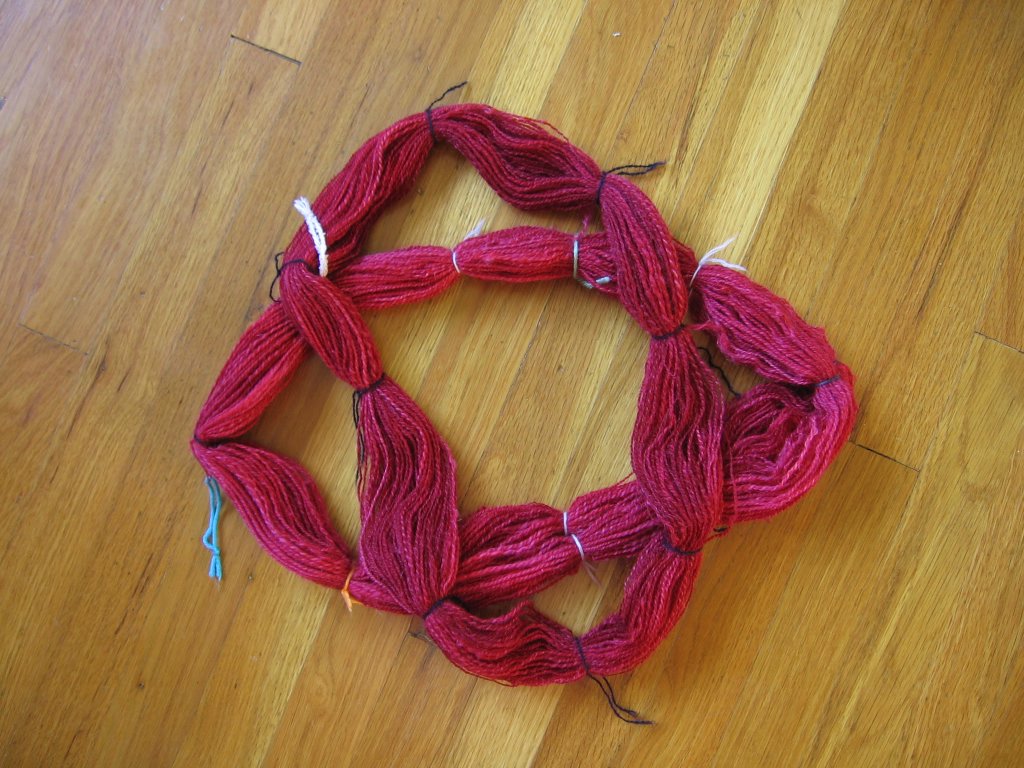
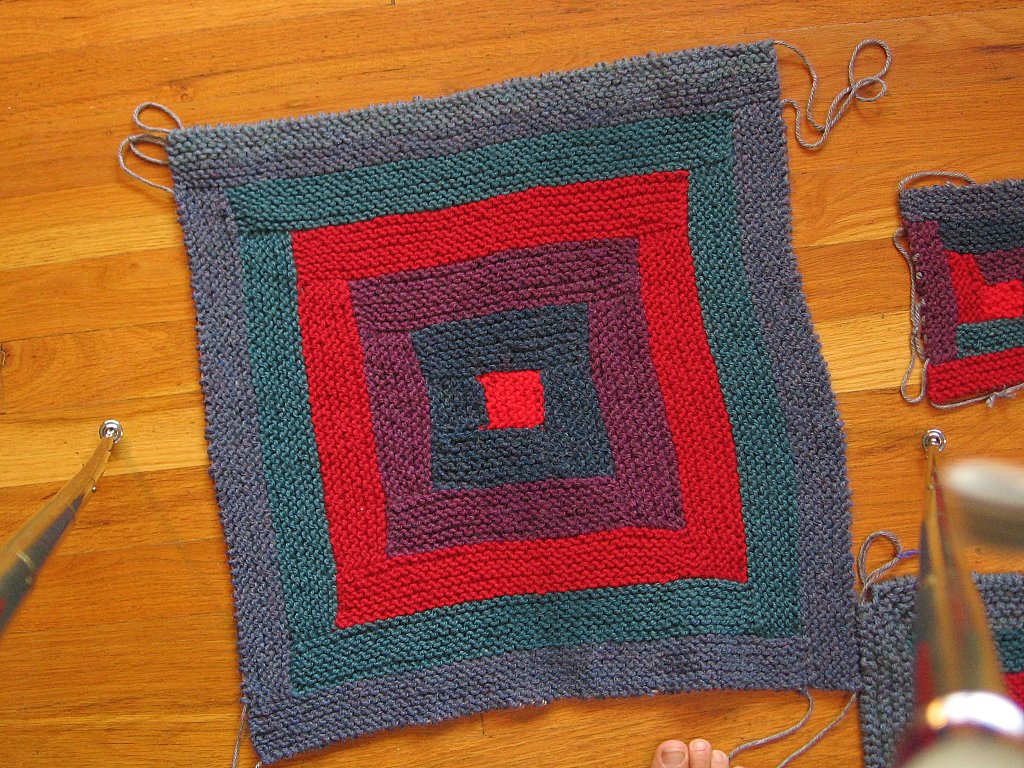
Guess what? I'm going to be teaching knitting classes at Emily's store. I'm so excited! My first class will be a workshop about Continental knitting *and* magic loop, and a whole lot more, because, you know, I have a lot to say on the subject, lol. As I sat knitting these clogs, my mind whirled with ideas. Later in January, I'll be teaching a two-part class on making Baby Surprise jackets, and then, in March, I'll teach a class on how to knit my Red Tent Blanket. So, for all of you who want to knit this blanket-shawl - Come On Down! In this class, we'll discuss how to knit this shawl, how adapt doily patterns to make them shawl patterns, and how to chart flat circular items. We'll also learn how to knit on a border, my favorite way to finish a shawl. I can hardly wait. If you are interested in knowing about other classes, email me, and I can send you a copy of the newsletter. There will be classes in crochetting, knitting, wet felting, needle felting, spinning, and more!

Mama's Scarf

I took the proceeds from my article, and ran screaming to Emily’s Shop to purchase all of the Barbara G. Walker Stitch Treasuries, so that whenever I wanted to design a project, no matter what time of day or night, I’d have all the stitch patterns in the universe *right* at my fingertips. Then… I proceeded to knit my mother a scarf from a pattern which I found online after I bought the books. Sigh.

This is just the way it works, isn’t it? *smile*

Anyway, here is a photo of a portion of the scarf in its “relaxed” state…
 
…and here it is just a bit stretched, to show the stitches…
 
…and here it is, really stretched (and blurry, sorry!) so that you can see the pattern.  This couldn’t be simpler. The yarn is Pengouin “Agadir” – a 70/30 cotton/acrylic blend, in brown and tan.

I found the pattern online, under the title, Barbola Scarf. Gosh, I wish that I could give credit where credit is due, but now, I can’t find the entry! I’m so sorry. If anyone knows where this is online, then please drop me a line, so I can amend this situation.

It is the easiest stitch pattern! Cast on an odd number of stitches. Knit one row.

Pattern row – K2tog, yarn over, repeat until you end with K1.

Repeat this pattern row until your item is the desired length. Bind off, loosely. I used Elizabeth Zimmermann’s sewn bind off which matched very nicely to the long-tail cast on that I began with. I bound off every stitch, rather than binding off in pattern, so that the bind off matched the initial knitted row. Making it this way made the ends flare out in a very appealing way.

I liked this scarf so much, that I decided to knit another one. On the second scarf, I tried to begin the pattern row right from the cast on, but I didn’t like how it looked in this particular yarn, as it kind of drew in. It might work better to do it this way with some other yarn, and if you do it this way, then you’ll probably want to bind off in pattern, so that both ends match.

This is such a fast knit! The result is really bouncy and stretchy and floppy and loosey-goosey and just right for a scarf.

Back to my Christmas Knitting! What are YOU knitting for presents this year?

Goodbye Old Friends


*sniff* It's time we say goodbye.

These were among my first projects. Lovely dishrag-cotton slipper socks with soles made out of a felted sweater. Sniff. These old friends have warmed my feet for how long? 3 years? Something like this. But - take a look! One heel, completely worn through. This is the third or maybe fourth set of soles, but this time, the hole goes through and through - sole, sock and all - and I think that it's beyond redemption. Sigh. The toe on the other foot - worn through and patched last winter, and look at that cuff. If you could hold these in your hands, you'd feel that the whole slipper sock is wasting away to nothingness... completely threadbare. These are almost grey now, and they started out a bright, vibrant variegated yarn. Too many trips through the washing machine. Sigh.

I think that they can live in the back of my sock drawer since I can't bear to throw them in the *gasp!* trash can, where they will be loaded into the back of a *gasp!* trash truck and carted off to the *gasp! gasp! gasp!* Town Dump. NO!

Goodbye old friends.

The good news is that it's time to knit another pair! Yippee! This time - ALL WOOL

J, you asked about spindles?

My email pal, J, asked about making spindle shafts with tapered ends, and brass hooks. Well, J, head on over to my tutorial blog, Rosemary Knits Tutorials, and see for yourself! It's easy, and takes very little time. Thanks for asking.

Grace's MiniSweater

Grace finished her sweater - it took her no time at all! She made this to wear to ballet, but it came out too cute to wear only in the Ballet Barre. Here is a link to the pattern Minisweater.

Grace made a couple of changes - she eliminated the poofy sleeves, and she made her sleeves long with a bell at the end. Completely darling! Also, she knitted long ties onto the bottom band, and the ties are long enough to wrap all the way around so that she can tie it in the back, or in the front.

Actually, this band is not knitted as per the Minisweater directions, but like this - knit to the bottom of the sweater, before the bottom band starts, and set the sweater aside - still on the needles, or on a stitch holder. With another ball of yarn, and another pair of needles, cast on 5, and knit in garter stitch until you are completely goggly eyed, or until the band is about 40 inches long, whichever comes first. Then, knit onto the bottom of the sweater, as if you are knitting on a border. When you go all the way around the sweater, you are back to knitting a 40 inch long band onto the other side. Cast off and you are done. Grace knitted a buttonhole under one arm, to keep the band in place.

Here, you see the back of Grace, and the side of Emily, my new yarn mistress. You also see a pair of the most uncooperative models in the history of blogging, and they ought to be ashamed of themselves!!! You also see one of Emily's completely darling needle-felted animals - her dog. Ooooohhh... it is too cute! In the very top picture, you can see Emily's sheep on the other side of the pedestal - it's white and black and is holding a flower in its mouth. That Emily makes the best needle felted sculptures! I'll post more in the future. She teaches classes, too.

Also - Grace's sweater isn't see through - it's that flash-thing. This is the reason why you should always wear a black bra with a black top - you never know when someone will be ready to snap your picture, lol.

Stats on the sweater -

Pattern - Glampyre Minisweater, knitted to gauge, with modifications as listed above.

Yarn - Plymouth Encore, Navy Blue

Needles - home-made circs approx size 9.

Knit Night!!!

Emily is such a dear - she has a knit night at her store, Colorado Fiber Arts! Oh my, we do have fun! Its great to see what everyone is up to.

Here you see some of the regulars - you know Grace, in the front, and do you remember Annette, in the back, in a white sweater? This is the lady who learned how to spin merino on a drop spindle, while on a hike and she learned to spin in 2 minutes flat. Now, she's picked up sock knitting. Yes, she just picked it up and is cranking out socks right and left. I studied and swatched for weeks to learn how to knit a sock, but not Annette - she's a quick study for sure! This "learn some complicated new process in two minutes flat" thing seems to be a habit of hers.


This blog entry marks the first time that all three of my children are in a blog post - oh, wait, no, that happened back on the mountain.... Anyway, you see Sam in the baseball hat, and Emma in the pink pullover and you all know Grace. Annette's children are in the black tee shirt and the green pullover. A handsomer bunch of kids would be hard to find, don't you think? They are studious, courteous and hardworking. Annette and I think so, at least.

Emily's store is right across the street from the public library, and the kids just wandered over after a teen function. Not only does Emily have all the yarn one could ask for, and not only does she offer all sorts of neat classes, and not only does she host a Knit Night, but gosh, she put her store right across from the public library! How cool is that!

To top it all off - she serves chocolate at knit night.

Stretchy Cast on, still photos

I've posted the still photos of the Stretchy Cast On to my tutorial blog, for anyone who might be interested.

Rosemary Knits Tutorials

Cheers!

Stretchy Cast On

I just posted a youtube video on my tutorial site, Rosemary Knits Tutorials, or I think I did, so head on over there, and take a look. Let me know what you think. (Let me know if it's even there as I can't make it load up on this computer. Grrr...)

I'll post still pictures too, for those of you who are still on dialup (like me!) and can't access youtube videos. You can save the still pictures, then play them as a slide show, and it will be nearly as good, lol. I can't do it right now, however, as my Library Internet timeslot is all used up! Maybe sometime next week?

Cast on!

New Yarn Store!

I'm so excited that I can hardly contain myself. My little town now has a proper yarn store!!! I've lived for so long, buying yarn at Hobby Lobby, and now, I can buy REAL yarn, lol. Visit Emily here, Colorado Fiber Arts . She has it all, and it's such a cute store. I wish her all the best!!!

If I can do two things - (1) remember to take my camera to knit-in, and (2) actually remember to snap some photos, then I'll post pix of our wonderful Tuesday night sit and knit sessions at Colorado Fiber Arts store. Stay tuned!

Baby Surprise Jacket


Now, isn't this just TOO CUTE? I just love to knit this baby jacket. Elizabeth Zimmermann was a pure genius.

I knitted this out of Artyarn's "Candy" in the colors "jujube" and "lolipop." This yarn felt a bit stringy in the ball, and felt a bit stringy after being knitted up, but after a trip through the washer and dryer, it's soooooo soft. The ball band says to hand wash, but I felt adventurous, and threw it in the machines and it came out fine. It's a cotton/acrylic blend.

Look how cute it is from the back.


We had the most gorgeous sky last night. Take a look. Ahhhh.... The sunlight, reflected from the clouds made the sidewalk pink! I love it when this happens.


From Sweater to Clogs (almost)

What a productive 24 hours! I went from here to there in this short amount of time...

Quite a long time ago, my local thrift store ran a special sale on sweaters - 12 for a dollar, if you can believe it. Of course, I stocked up! Last night, I decided to rip one of these sweaters, and make a pair of felted clogs-slippers for my dear, darling husband.
This is a really thick, really bulky sweater. I hope that it felts OK. It's odd - even though it is a wonderfully thick sweater, it is made from really fine yarn. I mean really REALLY fine. The trick is that there are 5 of them held together. Each strand of yarn is two ply - one ply is brown and the other ply is cream, so the result is this wonderful heathery brown (not grey as it looks in the photo). Doesn't that sound like a ridiculous amount of spinning for one strand of knitting yarn? Each ply is just a little bit thicker than sewing thread. Gosh, I hope it felts!
Well, last night, I began knitting on my old, home-made circs, which are made of wood. Oooch! Even though the needles are perfectly smooth, from miles and miles of knitting, the yarn really dragged on these wooden needles. I was seeing a headache in my future. While running errands this morning, I came across this set of plastic needles, on the *clearance rack!* Yippee, life is good. I came home, and I didn't even put the perishables in the fridge - I raced out to my garage, and whipped up a pair of circs. Here is a photo at the half way mark. Nifty, eh? They made up really easily - much more easily than I had imagined. These needles are so very smooth, and very lightweight. Yes, this is a good day

I'm almost done with the first part of the first slipper - as I sit to write this, I'm much farther along on the slipper than the photo indicates. I'm now to the point where I have to knit another sole. I'm really going to run out of yarn!!! Oh well... hubby and I discussed it and we came to the conclusion that slippers *really* don't need to match each other, do they? I'll just make the mate out of another sweater, and hope for a match weight-wise. I think that it would be unpleasant to wear slippers of different weights, don't you?

If you haven't tried the felted clogs pattern from Fiber Trends - well, what are you waiting for? It's relatively easy, once you understand the rhythm of the pattern. What came as a Eureka! moment is when I realized that I don't need to count every row. Simply read ahead, and see what the author tells you what to do *after* the counting - maybe it's to m1k2 2 times, at which point you'll be at the middle stitch. Well, I put a piece of contrasting yarn across the knitting (on top of the knitting, between the stitches, but under the needle - it'll stay there for a little while) at 4 stitches from the middle stitch, which I also have marked, and when I get to the yarn, then I do as I'm told. No counting. Mind you - the knitter doesn't have to count to say... 10. The knitter is asked to count to 79, or 68 or whatever. It's much easier to place the temporary marker.

I’ve knitted this pattern over and over again. It’s great fun. http://www.fibertrends.com/viewer/patterns/AC33x.html

Felted, Fibery, Fun.


Look what I found while cleaning out my junk-basket! My cell phone case! I made this in about July of 2005, during a fun afternoon of felting with my children, a close friend, and her children. Have you ever wet-felted? Your hands have never been this clean before! It’s great fun, and I just wanted to share these photos. The pink one is my first try. Who knew that felted wool shrinks so very much!

Both projects were made with merino roving, and dyed with Koolaid. I used the method outlined in this book, Feltmaking: Fabulous Wearables, Jewelry & Home Accents , which is a great book, by the way, with very easy to follow directions.

No, I don't ever use it, as my little cell phone is quite sturdy and doesn't need any protection, so this case turned out to be not-as-handy-as-I-had-hoped, and it's relegated to my junk basket. Still, it was a great project!

By the way - I am the proud owner of the World's Most Spoiled Dog, and yes, I have proof. See below. Spoiled dog.


The little brat has his Nylabone in there - what a brat.


It was blowing rain and snow most of the day, and this spoiled dog spent the whole time on the sofa, under a down comforter. See? What did I tell you? The World's Most Spoiled Dog.

Three more blocks


Three down, 9 million more to go. Not really, but it sure seems this way.

Take a look at the one in the upper left - what was I thinking? I'll use it, but... umm... yuck.

The one on the upper right is a garter stitch entrelac. What's the point of this? Entrelac is supremely annoying to do, whether you knit backwards or not, but the payoff is that you get that wonderful woven appearance, right? In this garter stich variation, there is no woven appearance possible as it is completely flat, so this means that you get all of the annoyance of knitting entrelac with none of the payoff. Plus, as you can see, I lost count of my rows quite often - yes, counting to "6" really throws me at times - and my tension is not regular at all, so basically, the whole block stinks.

I like the one on the bottom, though. I left my chopstick circulars in place so that you can see how handy is is to have then ready to pick up that side and resume knitting. I'll continue in this pattern for another round, and see how it turns out. Then, I'll thread it onto a length of yarn for washing and blocking while I continue to try to figure out some clever way of hitching these blocks together.

Stay Tuned!

The Red Roving is spun! All of it!

You know, when you get it all lined out like this, spinning is really an extraordinarily work intensive hobby! I started out with the dyed roving. There are many steps between the shearing of the sheep and the dyeing of the roving, too. It kind of makes me dizzy to think of it all.

I’m completely finished spinning the red roving that my friend Peggy D. gave to me – take a look -

Two spindles full.


Andean Plying Paperbacks. Y’all, this method is the best! You really need to give it a try. For the record, these paperbacks are the same size, 11.25 inches around, and this is the perfect size for an Andean Plying Bracelet. I couldn't find any popsicle sticks, but pencils work perfectly well. A Double point knitting needle would be even better, and it wouldn't make marks in your book, either. Can't make this claim with the pencils. Oops.


I thought that I’d try a heavier plying spindle, so I dug out two old baby stroller wheels to use as whorls. I cut the rubberband and the toothpick off in order to use this contraption – I leave then in place to give you some ideas on how to wedge whorls onto spindles.


As you can see, it worked, but it was no fun. This arrangement was just too heavy. It hurt my wrist to wind up the plied yarn. I’m a CD spindle kind of gal, I suppose. This is the first time that I tried the 2-whorl idea, and let me tell you, the second whorl really makes the spindle spin very well. I’m certainly going to continue to experiment with this idea.


The CD Spindle, in all of its symmetrical, balanced, not-too-heavy glory. The second whorl makes a world of difference! It spins so very smoothly with no wobbling at all. It’s cumbersome to wind the yarn onto the shaft, however. It’s hard to get my hand around the bottom whorl, but I'm going to work on this. Maybe I can use those odd, small, CDs for the bottom whorl? Hmmmm…. Gotta ask hubby if he has any lying around his office.


I pulled off the top whorl, in order to wind the yarn off of the spindle, and the beauty of it made me catch my breath! Check it out! You can see where the grommet was – I don’t know why this amuses me so, but it does. I also unscrewed the hook, and then the yarn spooled off and onto my niddy noddy quite easily.


Next step – Niddy Noddy.


Then, wash, hang to dry…


…and then, admire!


Thank you so much, Peggy! Look! I have 4 lovely skeins of wonderful, faintly variegated, red yarn. What am I going to make? I am amused by the fact that they are all so close in yardage. Two skeins measure 129 yards, and one measures 119, and the last one 114 yards. (The last little tiny skein is the one that I made with my Brio Mec Turkish Spindle.)

What to knit? What to knit? Decisions... decisions...

Log Cabin afghan, continued

I’ll get to the Log Cabins in a minute. First, let’s consider the completion of my mitered square –


Finished! I like it! If I ever say that I want to do an entire mitered square blanket, with no cast ons and no cast offs - - would one of you please run to my house and put a cold wet rag on my forehead and hold my hand until the fever passes? I’m sure that I would lose what’s left of my mind, but here’s proof that it can be done!

You know…

On second thought…

Imagine if the stripes were asymmetric with respect to each other – you know, that they didn’t line up with each other - and maybe some wide stripes, set off by single-ridge stripes… hmmm… maybe so... What do you think? Oh no – wait – wait – Imagine if the stripes were of different widths, and some were stockinette and some garter and maybe even some in different seed stitch patterns. Oh, yes, it’s all coming together now.

I should have taken a picture of all of those yarn strands all in a big huge scrambled tangle and then I would have NO second thoughts, eh? Let me tell you – this square was a pain in the neck! But…


Another Log Cabin Square, in a similar design to my favorite square, which is seen in the photo below.


Now… an entire blanket in this style is a definite possibility! Just imagine the possibilities! I have a few other squares waiting to be washed, blocked, photoed and blogged, but I think that all subsequent blocks will be on this square-bullseye design. I love the crisp corners most of all! Yes, more of these to come!

Once again, I interrupt the knitting to bring you... the last blooms of summer.

As I sat here last night, surfing the Internet, my little weather bug alerted me to the notion that summer is actually completely over, and that a frost was on the way. The first frost always makes me sad, as it means "No more flowers!"

I was granted a reprieve! We didn’t have a frost! I had a few moments today to snap some pictures of the very last of my summer flowers. I don’t know whether to laugh or cry! I love winter and the cold and most especially, the SNOW, but I’ll miss my flowers. Enjoy my last blooms of summer –

Morning Glories! Here are some of the “standard” variety –


And, here is Emma’s “Blue Heaven” Morning Glories. The blooms of this beautiful variety of Morning Glory are much larger than the standard variety – they are about 5 inches across! Yes, they are this blue in the early part of the day, and they fade to lavendar as the day progresses. This is one of my most favorite flowers!


Another favorite is the simple Hollyhock. Ahhh… I have hollyhocks in every imaginable hue, and I have them by the HUNDREDS. They are sooo pretty!


Calendulas are such happy little flowers!


Even though I’ve grown these every year for about 10 years, I still don’t know the name of this plant. It makes these huge beans, so my kids call it – “Jack and the Beanstalk Bean.” The blossoms were a bright, cardinal red, but they are long gone. Time to harvest the beans!


Every part of this plant is purple – notice the stems. There are lovely pods developing and I hope that the seeds develop before they freeze. It’s a beautiful plant, and the blooms are very long-lasting, too. Look at them! Blooming like crazy in October!


I forgot all about this plant! I call it, “Grow your own good luck,” for obvious reasons. It is a very pretty little plant, but since it was lost in the Calendula Jungle, I sort of forgot about it until today. My girls will enjoy pressing these leaves.


I’m cheating – I snapped this photo about a week and a half ago, not today, but it was still October, lol. This bloom was the diameter of a dinner plate, and I was *really* looking forward to hanging it outside of my kitchen window, to watch the birds eat the seeds. However, a squirrel chewed it off, and dragged it away. Grrrr….


Jack Frost – you can come now. I’m emotionally prepared.