More Log Cabin Knitting

I’m still chugging along.


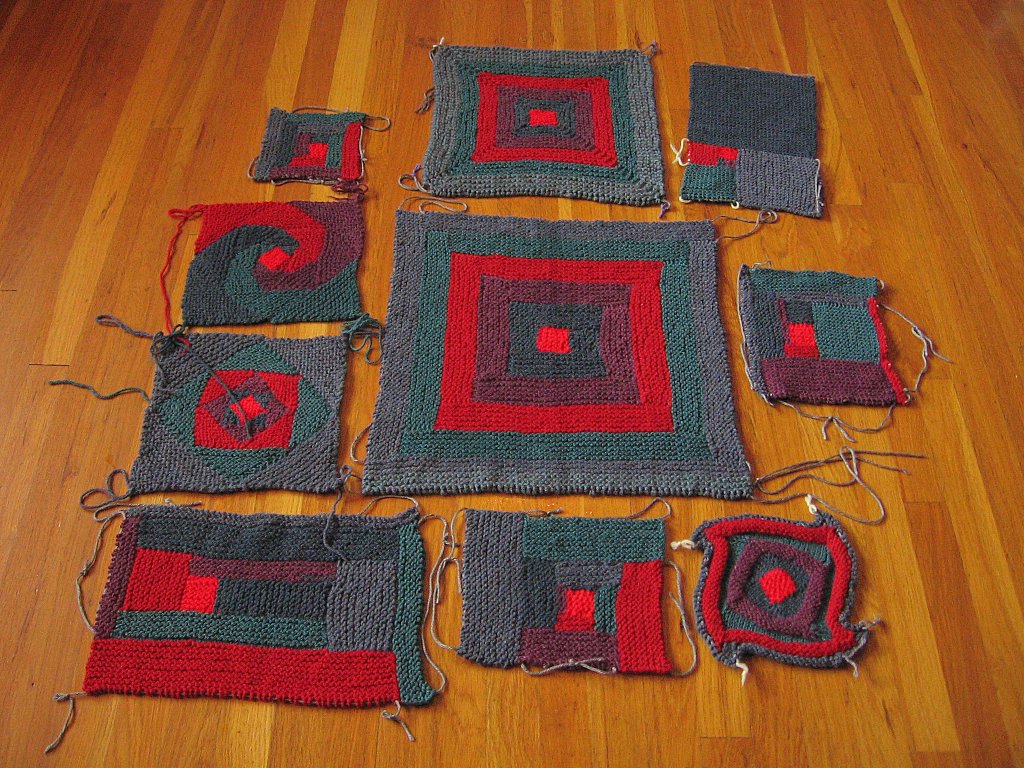
Here, you see a shot of all of my squares, to date. Gosh, I sure thought that there were more of them.
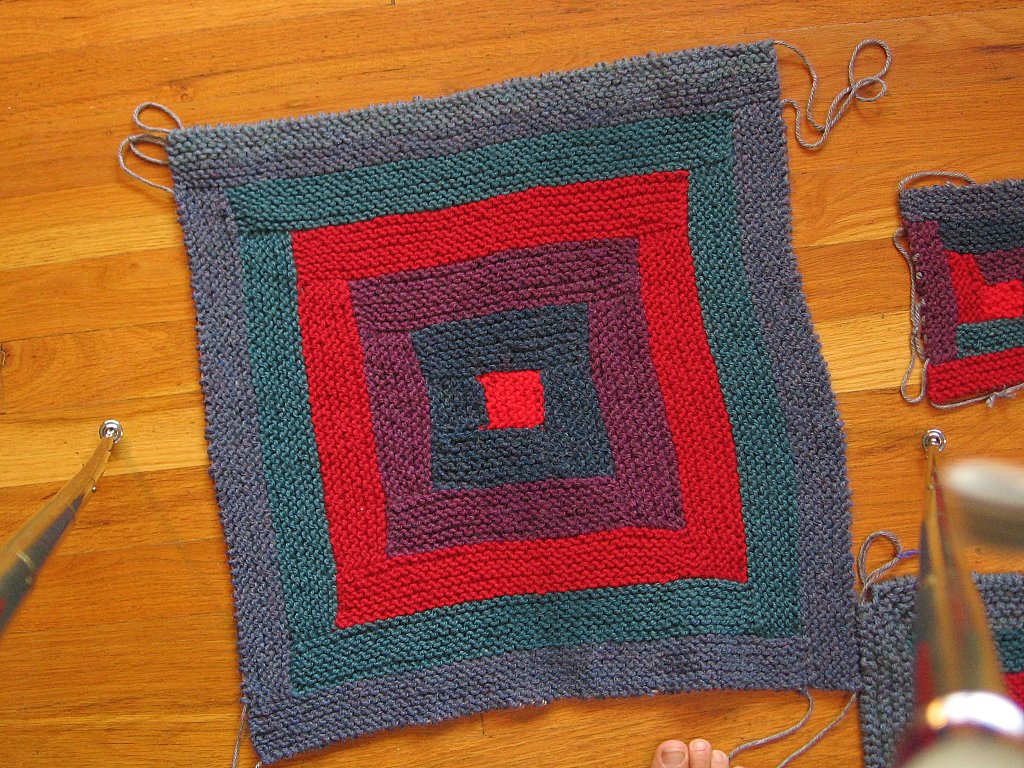


This is my current favorite. It’s also the largest, by far! As you can see, I have my 6-ridge “hearth fire” in the middle, but instead of changing colors every log, I changed colors every 4 logs, to get a bull’s-eye effect. Gosh, I really like this square! I love the geometrics; I love the nice, square corners.


Here is the reverse side of My Fave, to demonstrate the fact that there are no loose ends. Yes, I’m very proud of myself, lol.
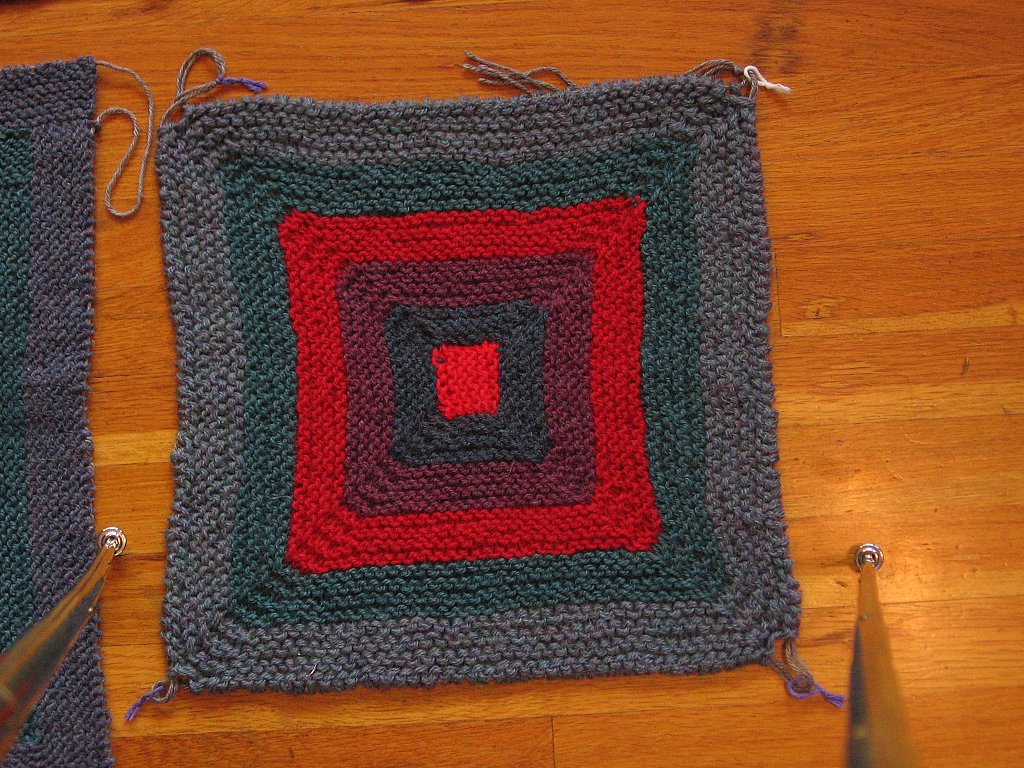


Still, the 6-ridge hearth fires, but instead of doing one log at a time, I picked up all around the central “fire,” and I knitted out from the center, increasing one stitch after the first stitch and before the last stitch of each side, on the purl rows. In other words, I increased 8 stitches, every other row. I like this square well enough, but it just doesn’t have the “pop” that the other one does. I’m certain that it is the lack of nice, sharp corners which makes the difference.


Now, these squares are great fun! Not exactly log-cabin, but close enough. Notice that even though these squares look very different, they are made exactly the same – it’s the color placement which makes the difference. First, I had the 6 live stitches remaining from knitting the central square. I switched to another color, making 2 additional stitches along this side, and then I decreased on each side when knitting the right side row. (Next time, I’m going to decrease at the beginning of each row – same mathematics – easier knitting.) So, since I started with 8 stitches, I ended up with 8 ridges on this initial triangle. Just remember – pick up a stitch for each ridge, just as in log-cabin knitting, but make 2 more stitches. However, when picking up after the central square, you are picking up along 2 different triangles, so you have to add 2 stitches for *both* sets of triangles. Get it?
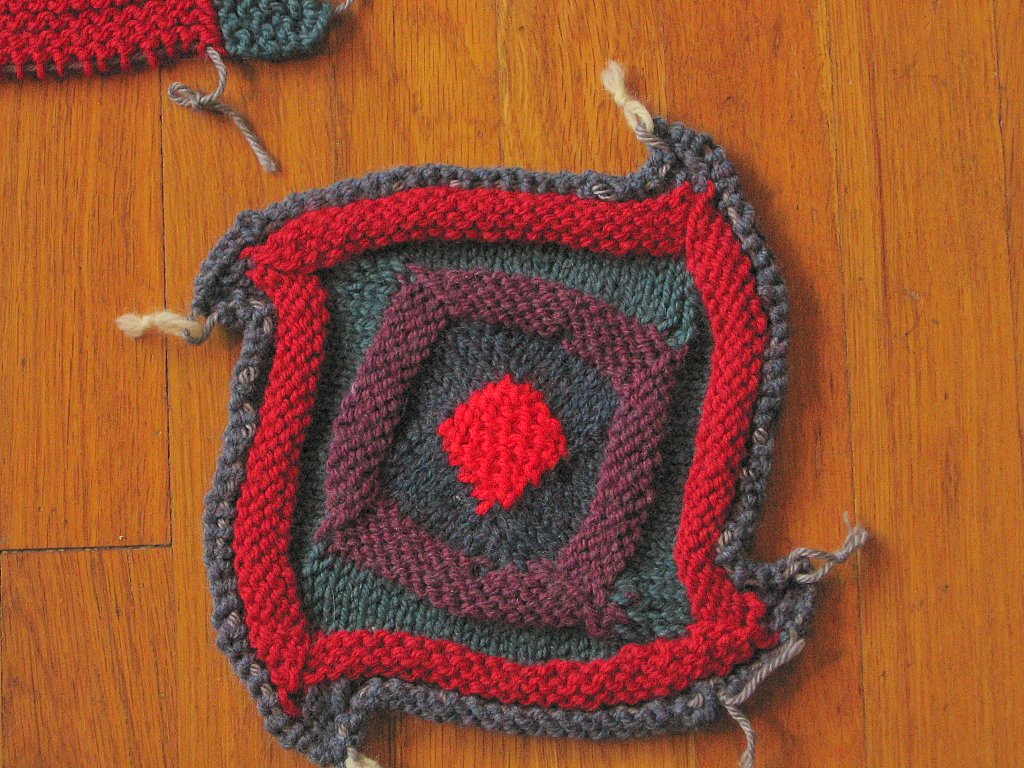


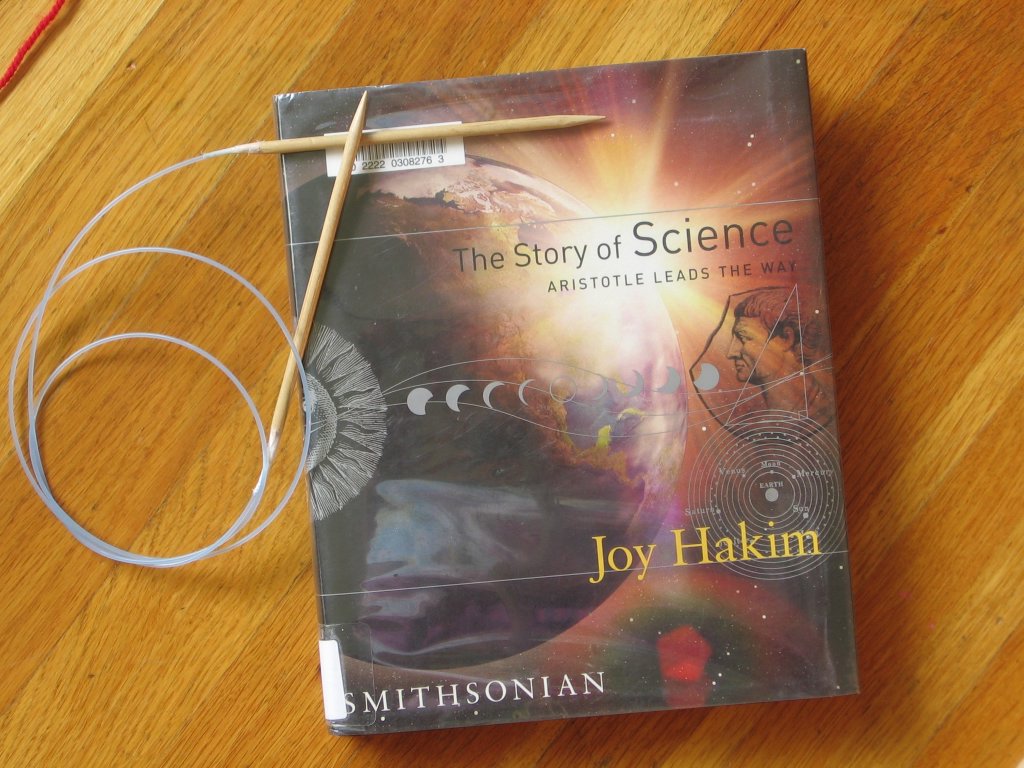
The idea for this square has been percolating around in the back of my mind for a long time. Joe knitted a blanket like this, and he named it “Rosemary’s Baby Blanket,” the reference being made to the movie of that name, but I always took it as a sign, lol. In fact, I made a really long circular needle for him, so that he could photograph his knitting in progress. See his blanket here – Joe's blanket

My square looks like it has swirly edges, but actually, the waviness is due to the bias of the pattern, and I’m completely optimistic that these edges will become straight when they are bound to another square. Sort of like buddy-taping a broken toe, kwim? This is my hope – we’ll see.

How am I going to put this all together? Your guess is as good as mine. I plan to pick up all along the edge of each square, and knit out a few ridges, in black yarn. Then, I plan to either kitchener it all together, or think of something else. Hmmm… I’ll work on it.

In the meantime, if you have any spare scraps of Plymouth Encore in Black, send ‘em my way, OK? Thanks.

Log Cabin Fever

Earlier this summer, I bought a huge bag of yarn at the Salvation Army Store, and in it were many balls of Plymouth Encore yarn, in nice-enough colors. At some point, I visited www.Januaryone.com, and she was making a Log Cabin blanket… The light bulb flashed in my head and I said, “That’s it!” This is turning out to be loads of fun, and quite the learning project, too.
The whole fun of Log Cabin is to use many different colors, which means many loose ends to weave in later. Well, I decided that this was just foolish – OK, really, I’m just lazy - so I start out each color, and I also end up each color, already woven in, so to speak. Are you familiar with the Russian Join, or Russian Splice? Google it. It’s the best way to end one piece of yarn and begin the next, without leaving any tails or knots to worry with later. It’s also fairly easy to change color predictably, as I’ll show you in a minute.

First, notice that in the Garter Stitch construction, you need to *start* your new color on the *right side.* If you start on the wrong side, then you’ll get those odd, but sometimes desirable, little middle-of-the-road stripes. So, this means that you need to *end* your colors at the end of the *wrong side* row. Keep this in mind, as you knit.

Now, all of the directions call for binding off each log, only to turn around and pick up along this edge. This seems silly. Just keep those stitches live, and come back and knit them later. Easy, plus you don’t get a bound-off edge in the middle of your knitting. What’s the point of suffering through miles and miles of garter stitch, the slinkiest and drapiest of stitches, only to make stiff ridges all over the place?

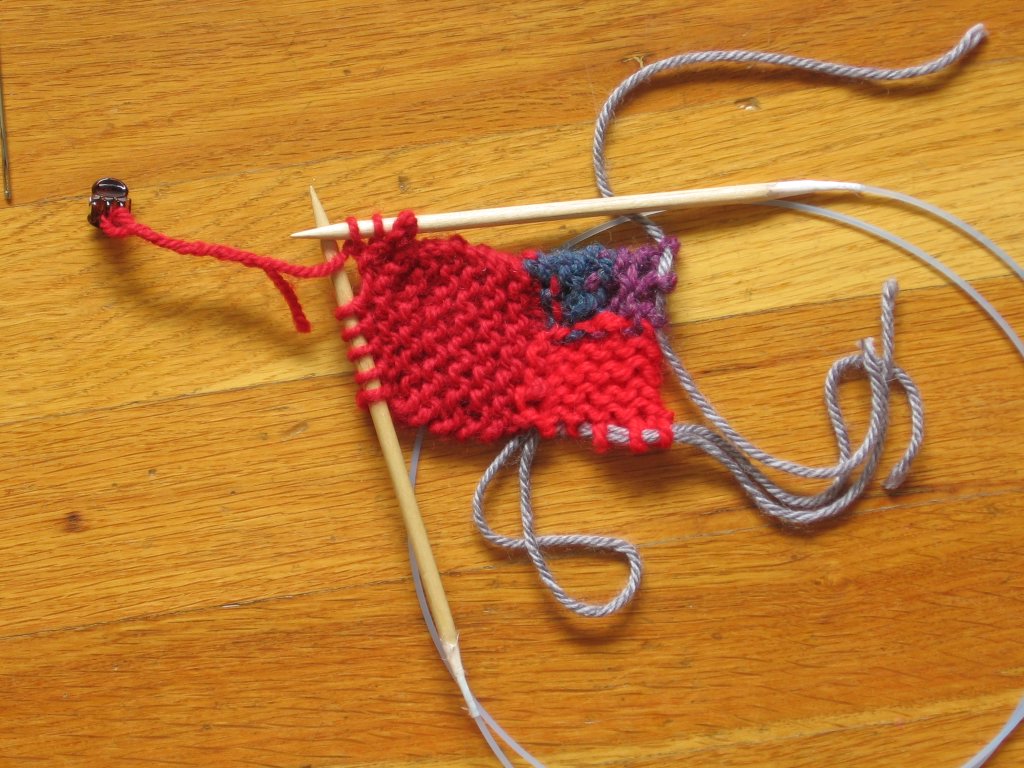
Now, back to the Russian Splice. I won’t attempt to teach it to you here, as there are a million wonderful tutorials already online. My fave is at www.boiknit.blogspot.com. I started each new color with one half of the Russian Splice. Here you see me preparing to pick up along one edge.


I picked-up the stitches with a small-gauge metal needle, simply because it was handy. It is much easier to use a skinny needle for picking up along the garter stitch edge.


Here, I’m beginning with my “official needle,” one of my beloved wooden circulars. Notice that the first row is a right side row.


All the way across…


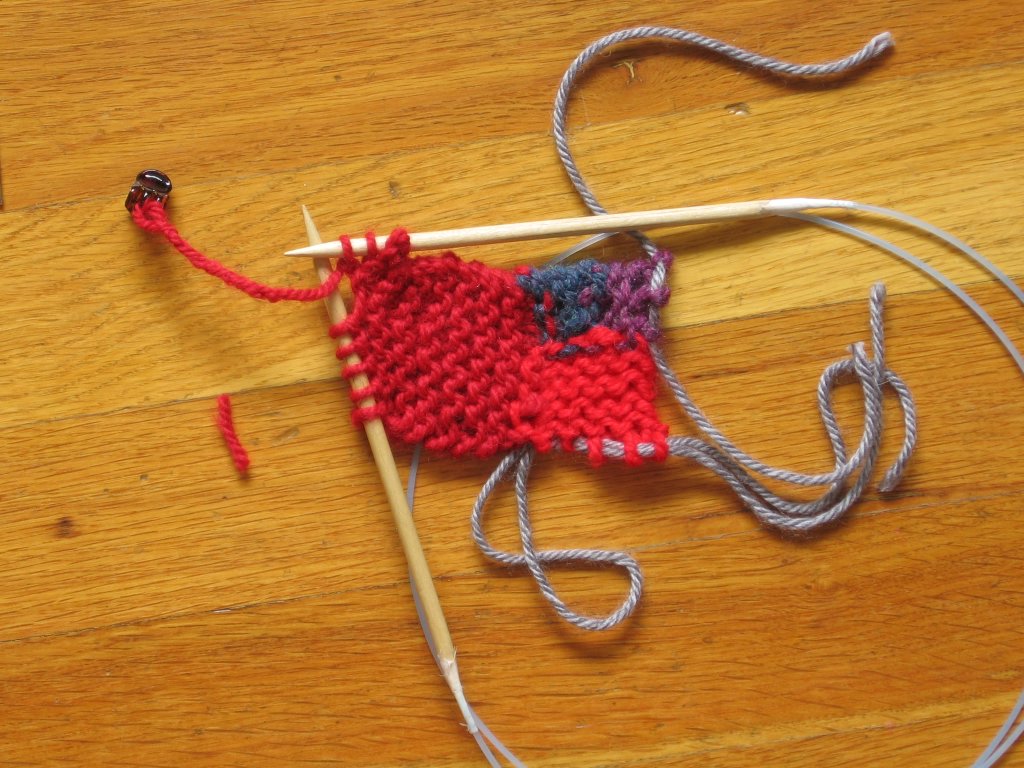
I’m five stitches short of finishing the row. Notice that I’m on the wrong side of my work. Also notice the lack of yarn ends. *smile* I’ve wrapped the yarn five times around the needle, and marked the end of the fifth wrap with a teeny-tiny hair clip. Maybe you have something handy? Paper clip? The corner of a binder clip? Thread this point of the yarn onto a tapestry needle? You’ll think of something.


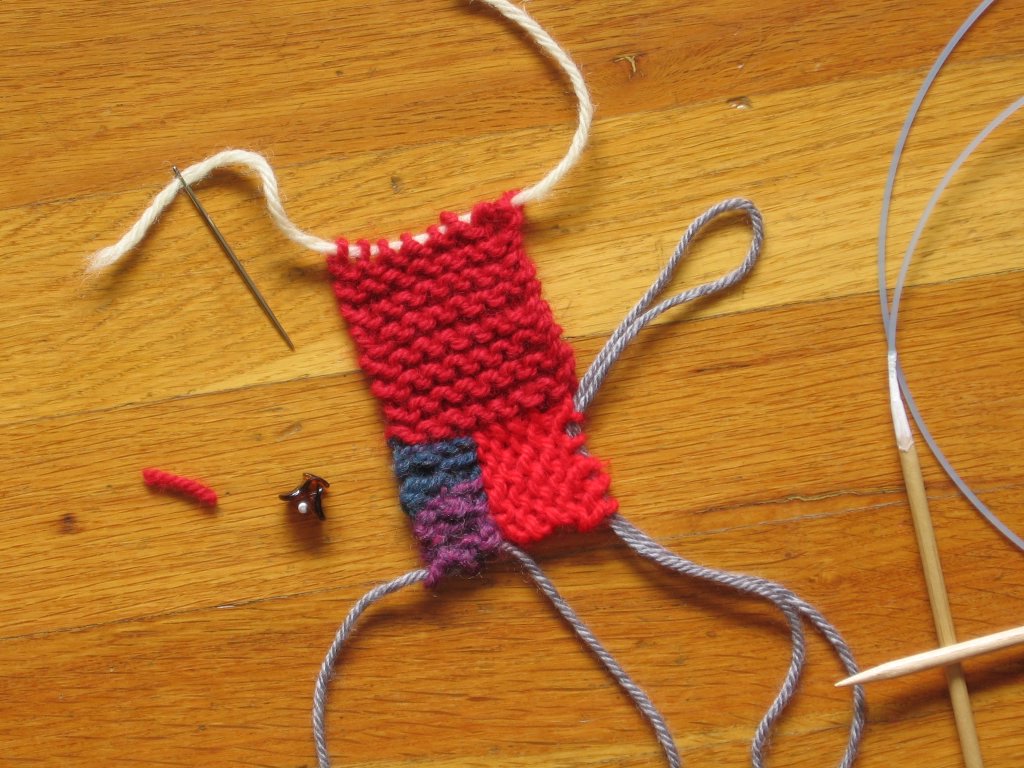
Leaving the tiny hair clip in place, I’ve cut the yarn, and am weaving it back and forth, with tiny stitches, back through the yarn, to accomplish the Half Russian Join.


Pull the yarn end through, and then clip it off, flush. If this were a really nice wool yarn, I’d now wet my fingers with spit, rub the place where the yarn end is located, really well, between my thumb and forefinger, and never see this yarn end, ever again. Since this is a wool-acrylic blend, it would be a waste of effort. This end is going to worm its way back out, and give me fits, at some point in the future, but I like to think positive.


Leave the little hair clip in place, and knit across the row. That last loop, which is held open and captive by the clip is rather difficult to slip into place, but with patience and fortitude, anything is possible. I’ve learned to work at the very tips of the needles for this last stitch, in order to keep from stretching things out of whack. All done! Now, rotate clockwise, pick-up and knit!

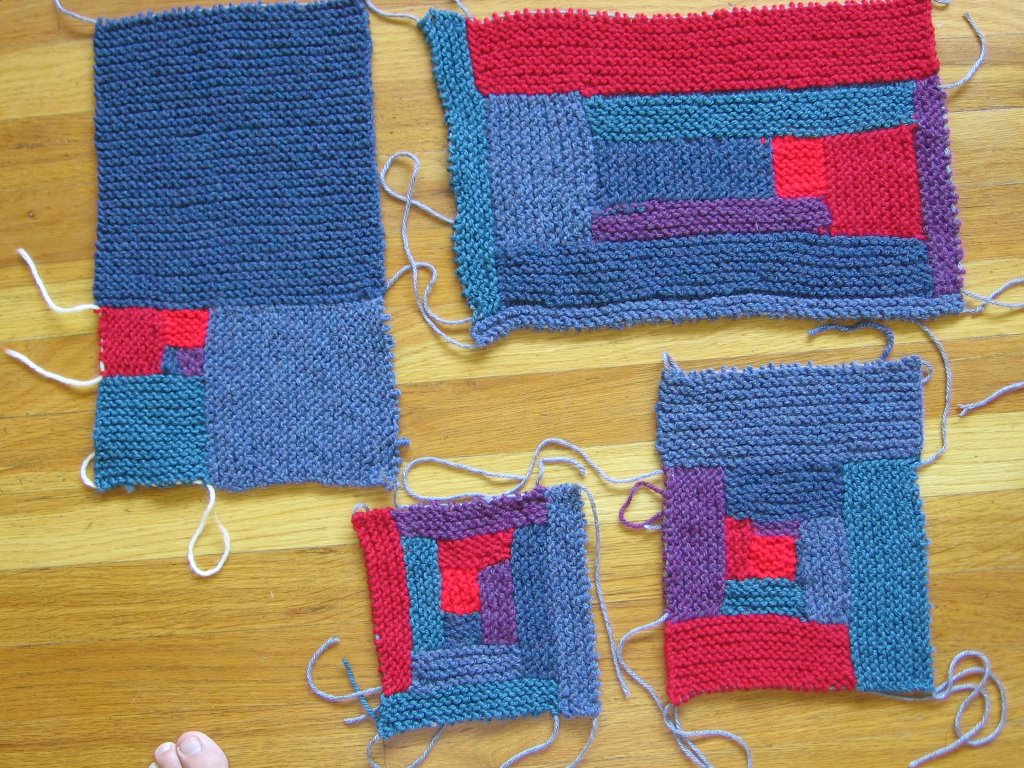
I tell you, everyone says that log cabin knitting is addictive, and they are right! I’m having a ball! Take a look at some of my squares…


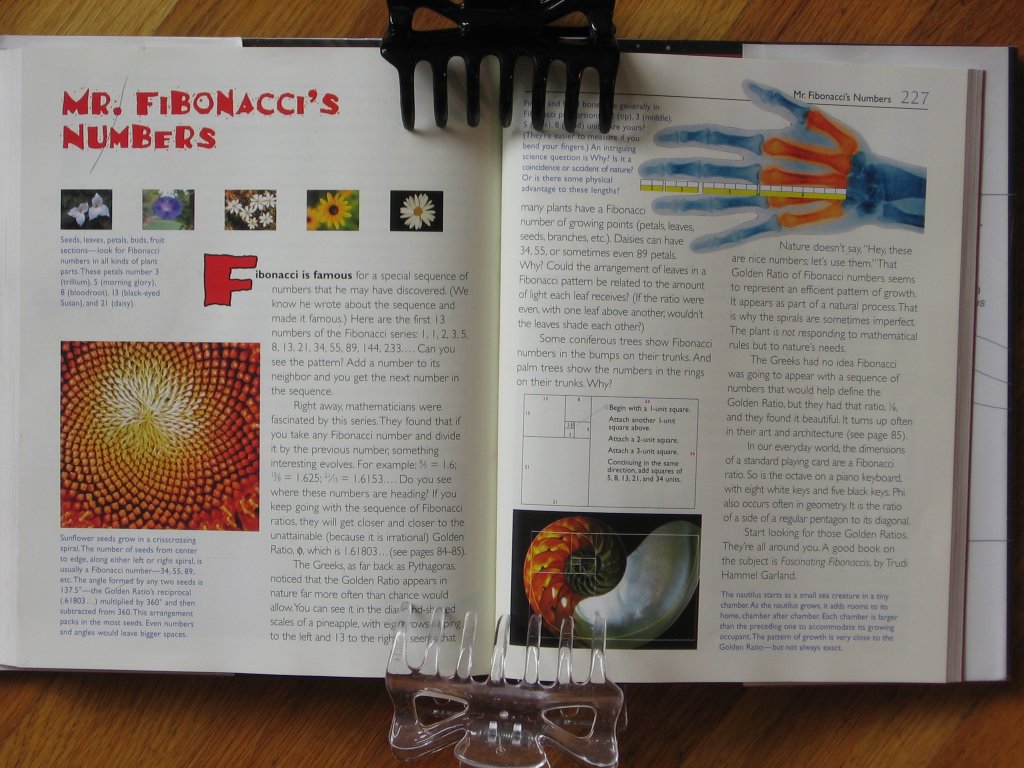
All of the squares (OK, rectangles) follow the same order of colors. They all have a bright red center, to represent the warm hearth fires in my little log cabin. The next color is a kind of a teal blue, then plum, then a deep red, followed by a sort of teal green, and a denim blue is the last color in the sequence. All of these squares follow this sequence, but they look very different! If one trip around the sequence created a smallish square, then I just went around again, skipping the hearth fires. The one on the upper right is my first attempt, back when I didn’t realize that I had to end on the wrong side, and you can see the tiny bit of non-garter stitch which resulted, before I figured it out. This horrifying mistake can be seen most clearly at the dark red-teal green interface. Oh, the horrors. This one was knitted as www.Januaryone.comsuggests, with the number of ridges being randomly assigned. The one below it has the red hearth fire, then one ridge of color number one, two ridges of color number two, and so on. The one on the lower left has the same number of ridges in all of the logs. My darling Grace got wind of what I was doing, ran to fetch her science book (click for larger photo), and presented me with the Fibonacci Sequence…


…so I had to knit up one of these, too. What fun! Maybe, in the future, I'll knit an afghan out of nothing but Fibonacci Sequence rectangles.

You’ll notice a distracting bit of … what would you call it…. A bit of “drawing in” right at the picked-up line. It is most noticeable on the left side of the largest square in the above photo. Of course, I’ve knitted *lots* of squares since this photo was taken, and I keep trying to wish this problem away… and it’s not working! The problem keeps occurring! Now that I’ve applied a bit of brainpower to the situation, I think that I’m going to try picking-up this first row with a larger-gauge needle then the rest of the knitting. Do you think that this will solve my problem? Hmmm…

My Red Yarn


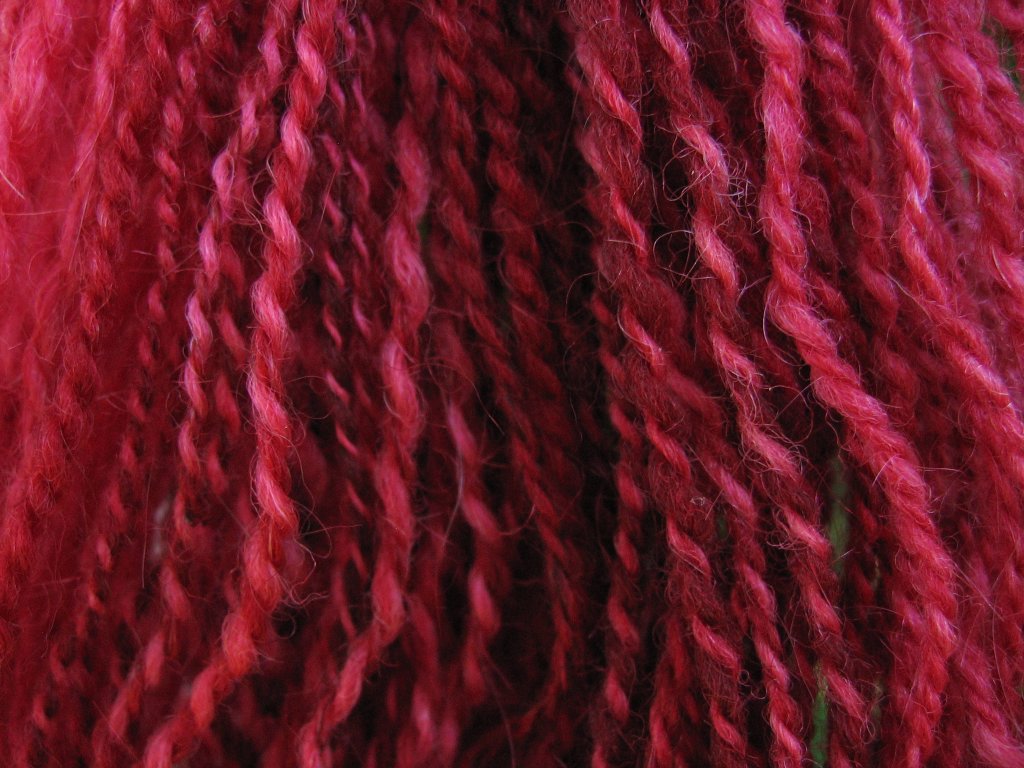
My red yarn is dry, and in skeins, and look at it! Just look at it! It's pretty, yes? My friend, Peggy, dyed this for me - varying shades of red - and look at it! I love the barberpole parts! Most of the yarn is a nice, medium red, but some parts are a really deep red, and look how it looks plied! I'm so happy that I decided to use this 2-ply method, because it came out really pretty. I can't wait to spin the rest of this batch of roving, and then.... get knitting!

I resisted and resisted and RESISTED learning how to spin. Why? It's a blast! I'm glad that I finally gave in.

My Lovely Red Yarn


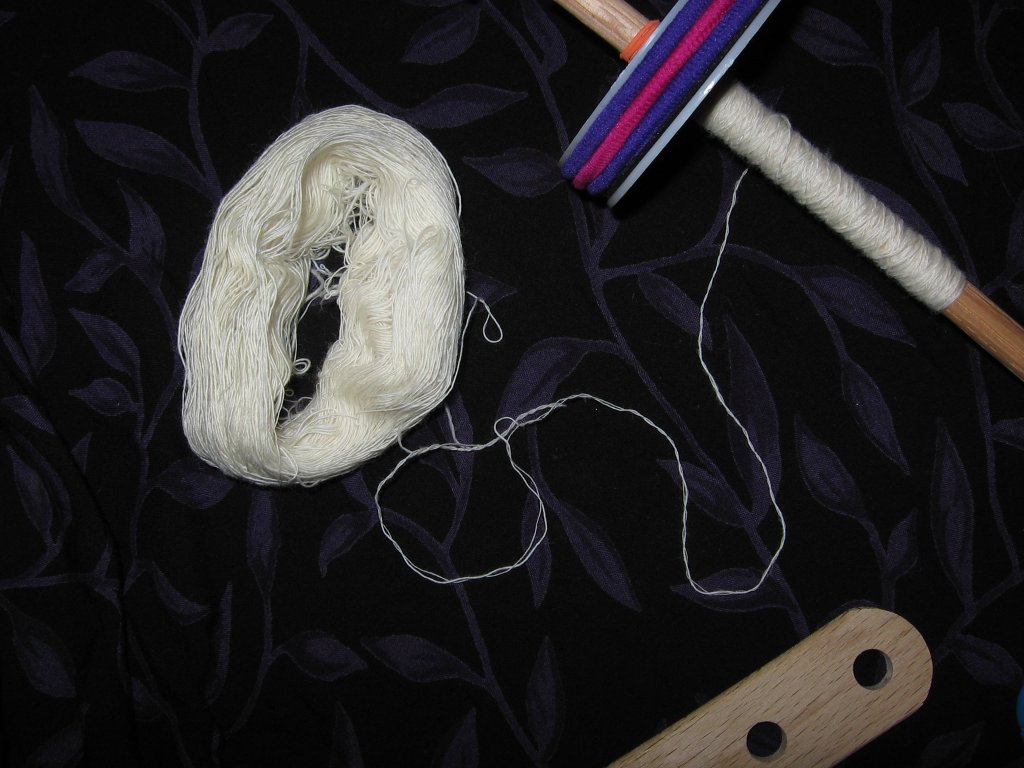
Two skeins, plied, washed and hanging to dry! (I’ll post pix of the completed skeins once they are dry. Can you contain your excitement?) I just checked on my babies, and they are drip-drying quite nicely, and they are hanging nice and straight with no twisting and I’m a happy spinner mama.

Yes, I’m quite new at all of this, and yes, I’m thrilled with myself! I MADE YARN. I made *red* yarn! Now, how cool is this?

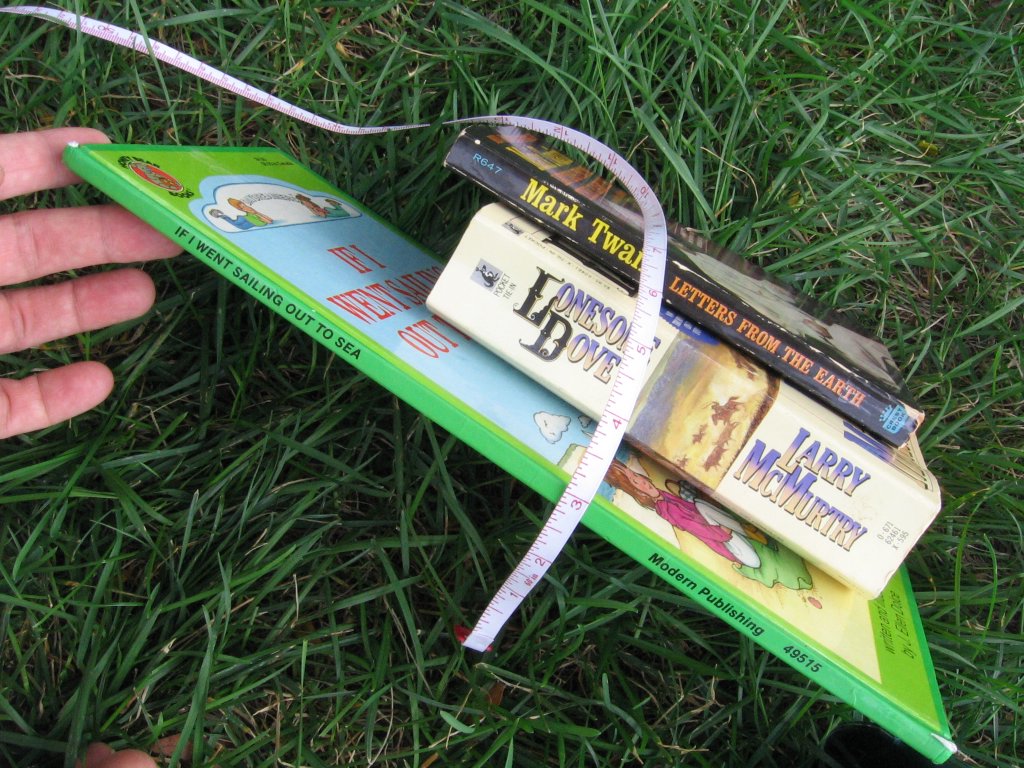
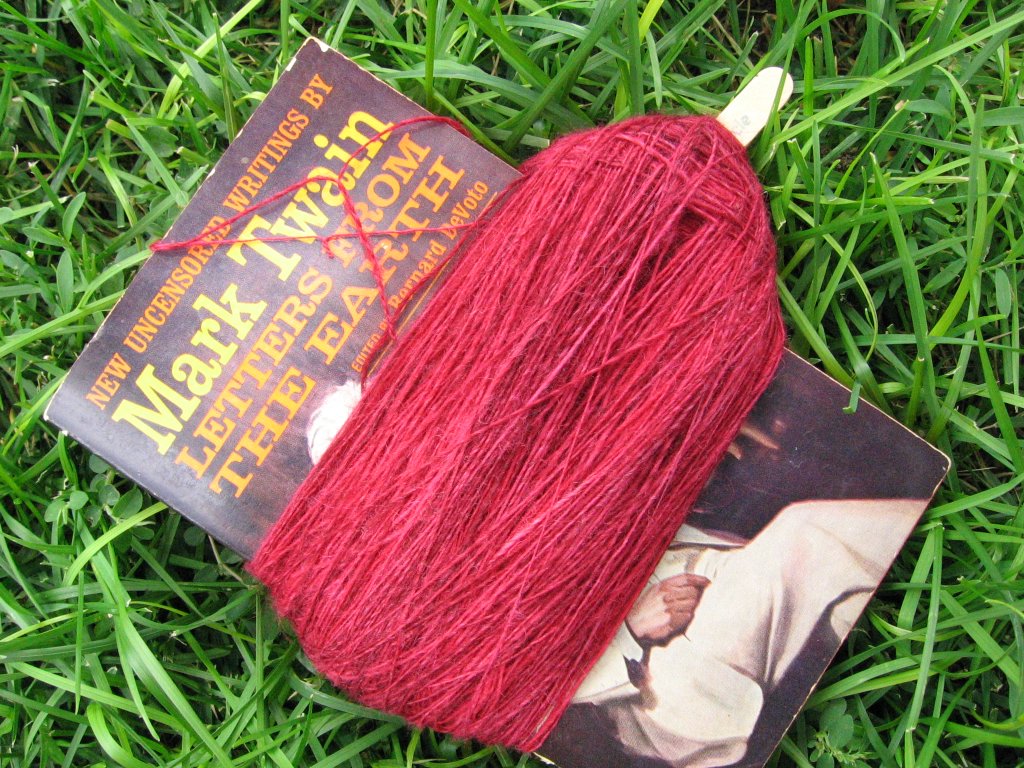
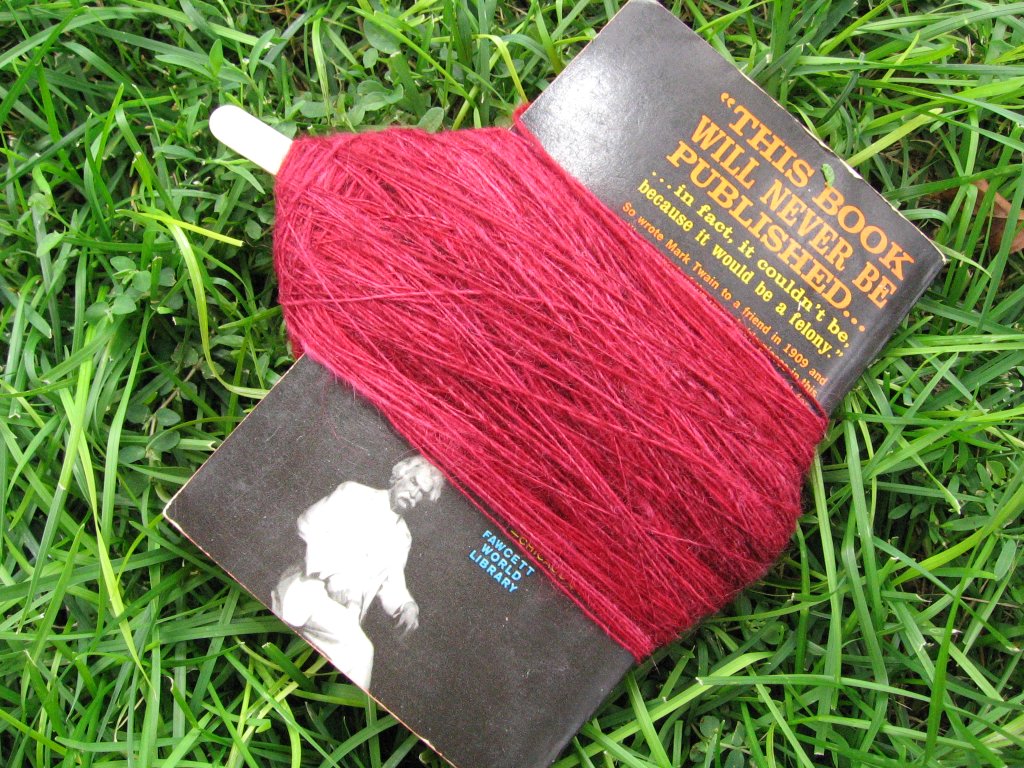
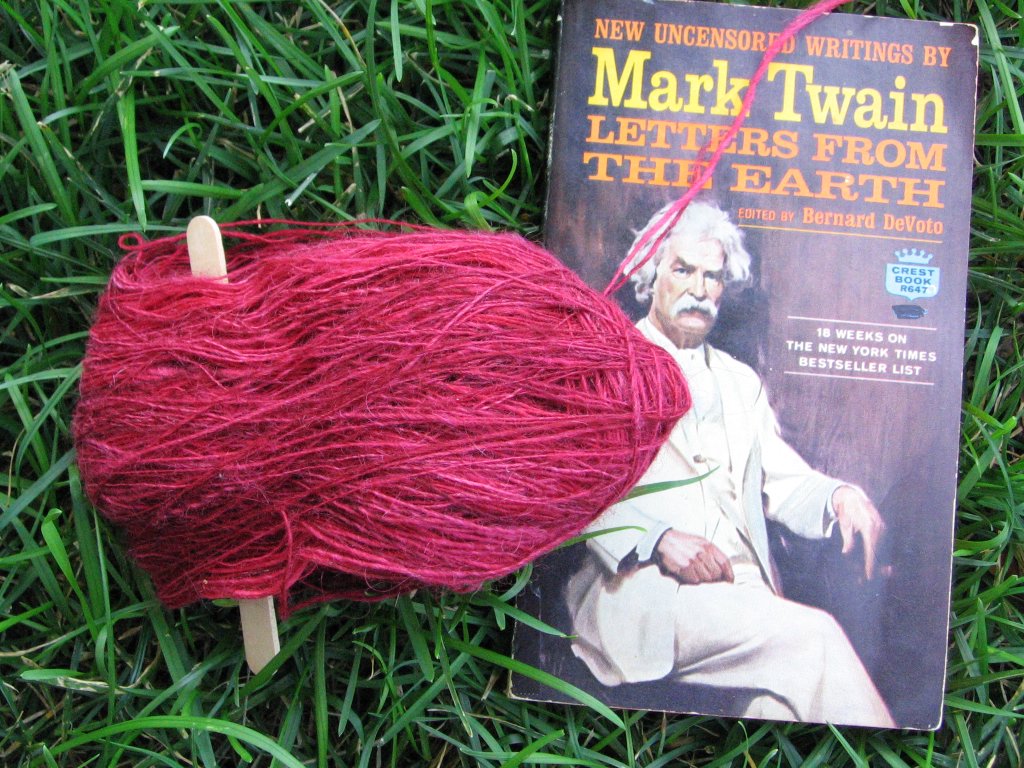
Back to my Andean Paperback Ply – the first book I selected was not actually a paperback, but a child’s picture book, If I Went Sailing Out to Sea, which has a “waist” measurement of about 12 inches. This one worked out nicely, but it was a bit large. The next one I tried was Letters From the Earth, with a measurement of approximately 9.5 inches. It was OK, but just a tad too small for my rather large hands. Next time, I’m going to try using Lonesome Dove, which measures about 11.25 inches, and I think that this one will be Just Right. The Popsicle stick worked well, too, but next time, I’m going to sand it with fine sandpaper, as it was a bit rough.


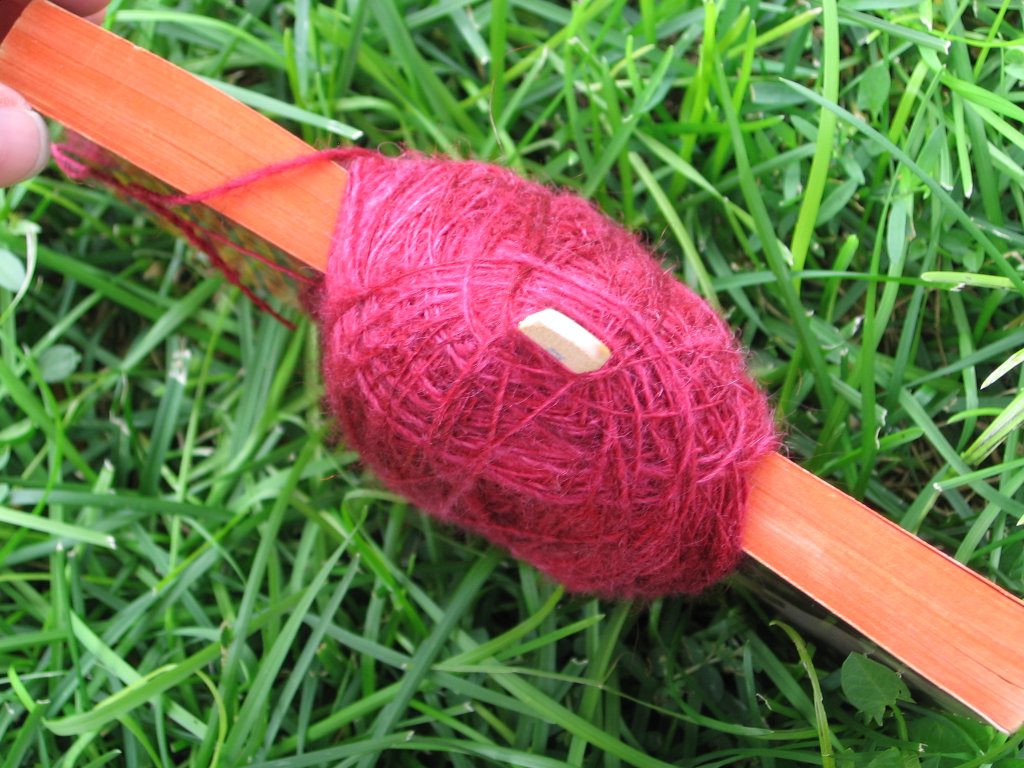
Also – it defies reason, but these Andean Ply Bracelets are really tough! I slid the things on and off of my hand, numerous times, each time certain that it was going to come apart, but it never did. The wool must Velcro together in some magic way. Hmmm….

Someone on the Spindlers list mentioned that she’s had trouble with Andean Ply and the single getting tangled up inside of the bracelet. Well, ignorance is bliss and all that…. This is only my third try, and so far, I’ve had no problems. I am still amazed because it *does* seem like it ought to create an awful mess, but the single just slides off of the hand and voila! Yarn…

I agree with that emailer in that I much prefer the Navajo ply, but I really wanted to learn how to do the Andean method. This, plus the fact that I really want to make a thin vest out of this red roving, and I didn’t think that I’d be able to spin this particular roving thin enough to end up with a thin, Navajo Plied yarn.

I have so many projects in front of this vest, that I wonder if I'll ever get it done? It's certainly fun to dream about it!

Andean Plying Bracelet, simplified

I really like to ply the Navajo way, but I thought that it was time that I learned how to do 2 ply, as well. As you saw in my post below, I made a plying paddle out of Brio Mec, but that was such a little bit of yarn, and it completely filled my little Brio paddle, and then, I couldn't get the resultant "bracelet" over my arm. So, after much head scratching, I came up with this idea, and let me tell you, it works perfectly. Yay!

I simply took a paperback book, stuck a popsicle stick in the middle of it, and wound and wound and wound. Then, I removed the stick, put the "bracelet" over my arm, and plied the yarn. It worked so nicely! However, this particular paperback was a touch small. Even though I was able to slide the resultant bracelet over my hand, I was a bit nervous that the whole thing would pop wide open. If I do this again, I'll be sure to use Lonesome Dove which should make a plying bracelet which is *plenty* large enough, lol.

Edited, July 20, 2007 - one doesn't need to use a popsicle stick - a dpn works great, too. Or, a pencil, or a spoon, or anything else which can be stuck into a book and has a nice smooth shaft from which the yarn can be removed. I've used this method about 10 times now, with 100% success. Try it!

Edited, March 7, 2009 - Please click here for another post about Andean Plying on a paper back book.  The Twain book in the post you are reading now is way too small - the post I'm sending you to features the proper sized paperback for most adult hands.

The thought of winding a plying bracelet on my hand makes me nervous. What if I need that hand to do something? I wound and plied a similar batch of yarn last night, and the whole winding, and then plying operation took about 2 hours. That's a long time to have my hand wound up in a batch of yarn! I like this method better, thank you very much! I can put everything down if I need to.

Once again, that person up in the Andes, who figured out this plying method, is a pure genius! It works very well, and it's very easy, too!


It worked!


It worked just fine! Gosh, this plying bracelet is too cool! Who invented this Andean plying method, eh? Someone who was really thinking, that’s who!

The only problem with my Brio Mec Plying Paddle is that the plying bracelet was too small to actually get over my hand, until I had plied half of it. I had to hold it across my palm, and that was going to be nice and sweaty before long. I was happy when I could slip it over my hand and ply in the proper, Andean way.

I have trouble, however. I don't think I plied it enough. I plied until it backtwisted a little bit. I know that this isn't the proper term - one can ply until it still twists in the unplied direction, continue plying until the yarn hangs with no twist at all - the so-called "balanced ply" which is never really balanced for me - and continue twisting until it twists in the other direction. I've been doing it this way, overplying just a bit, and then, after washing, it hangs perfect. Well... I washed it, and my little skein broke out in boucle's!


Help! Is there a fix?

Anyway...

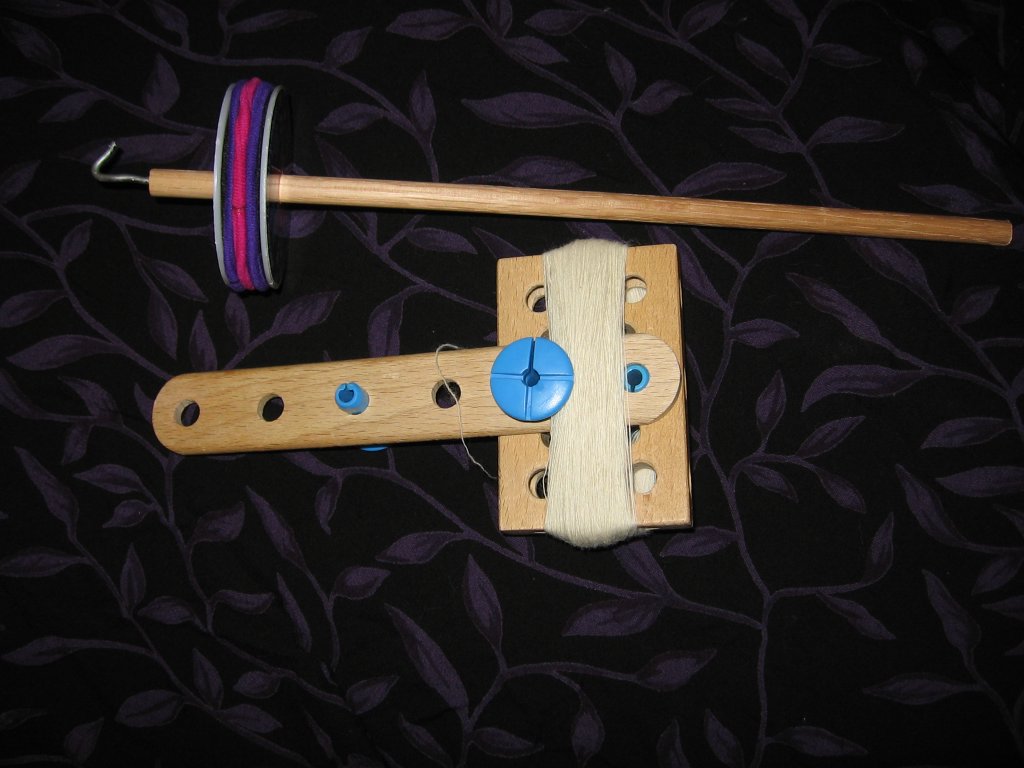
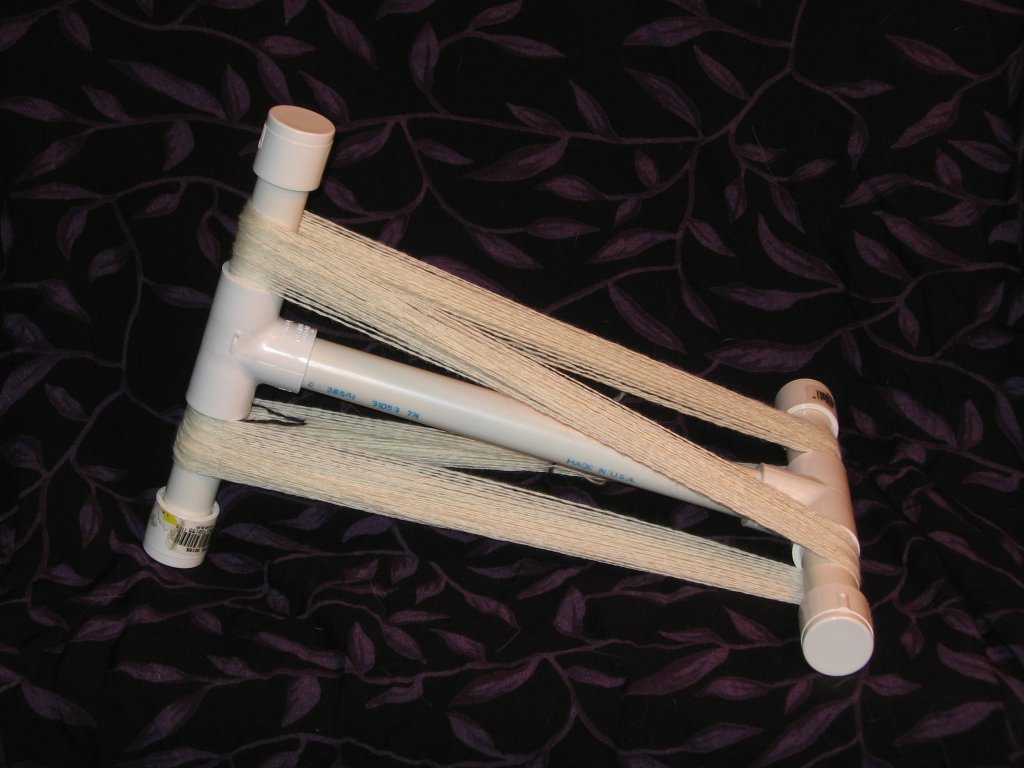
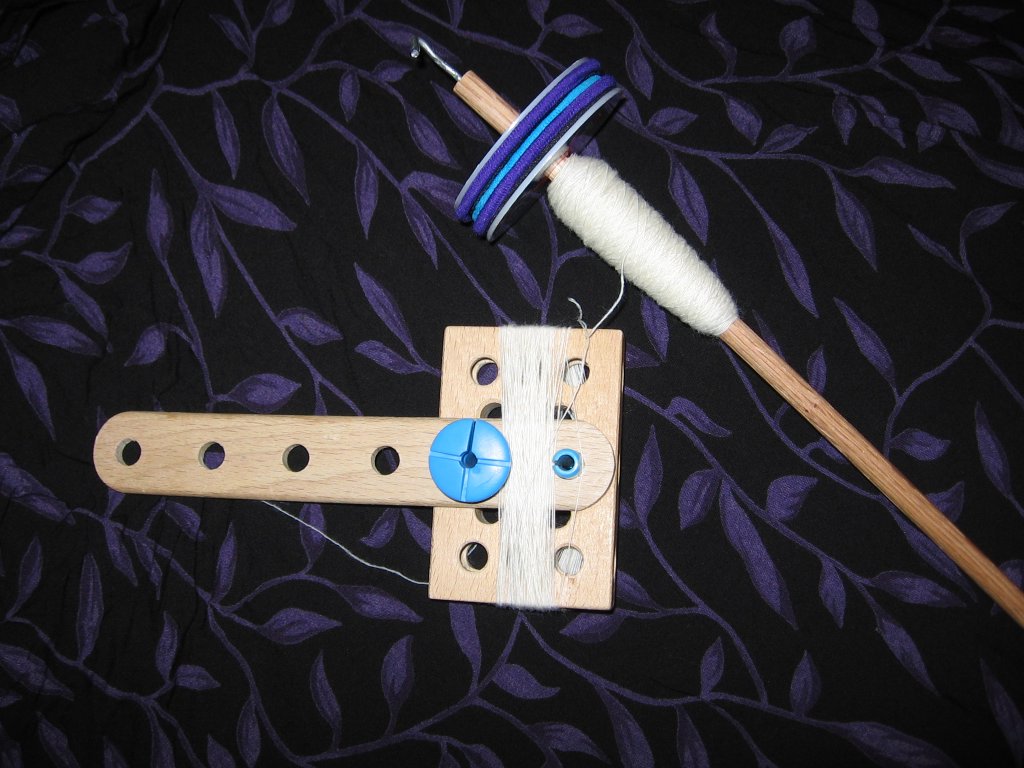
I also made a little Lazy Kate doohickey for unwinding my plied skein onto the niddy noddy.


What do you folks out there with no building toys do when you need to spin up a quick skein? *smile*

Brio Mec Plying Paddle


Think this will work? I don't know why not, do you? I'll let you know.... Posted by Picasa

What a WONDERFUL day!

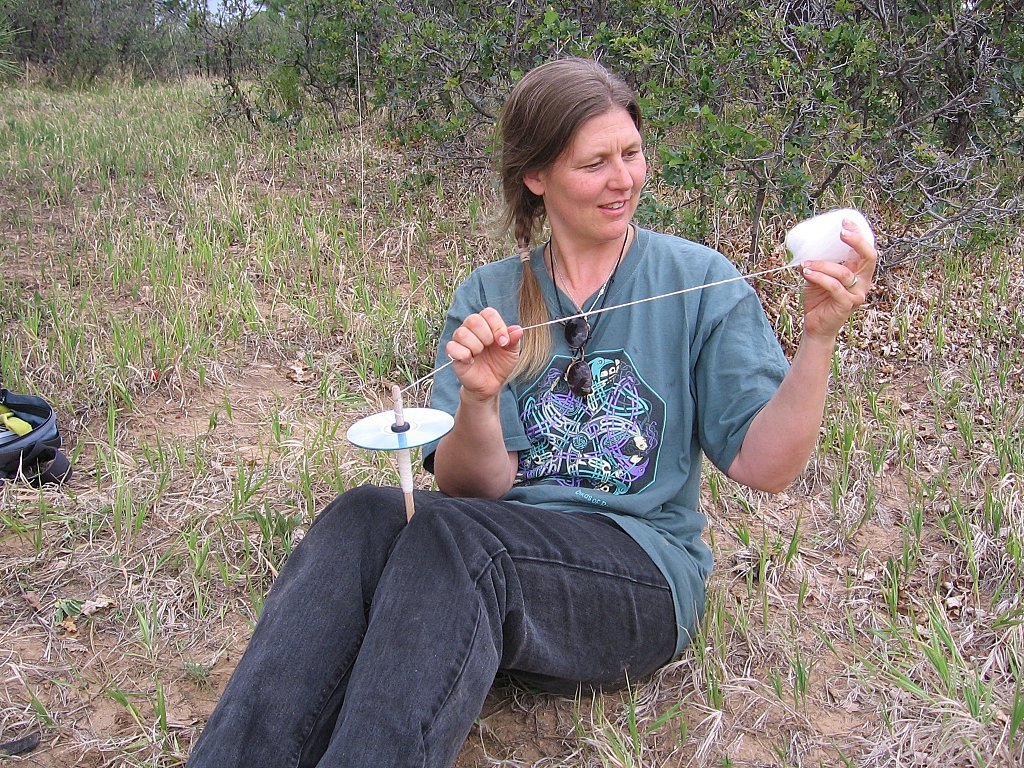
A few weeks ago, my friend, Annette, casually mentioned that she thought it would be neat to learn to spin. Poor Annette! Little did she know that I would actually *make* her a spindle, and actually *guilt* her in to learning how to use it. I mean, how could she say no? heh heh heh…
We visited her house in Southern Colorado today, and what a fine time was had by all.


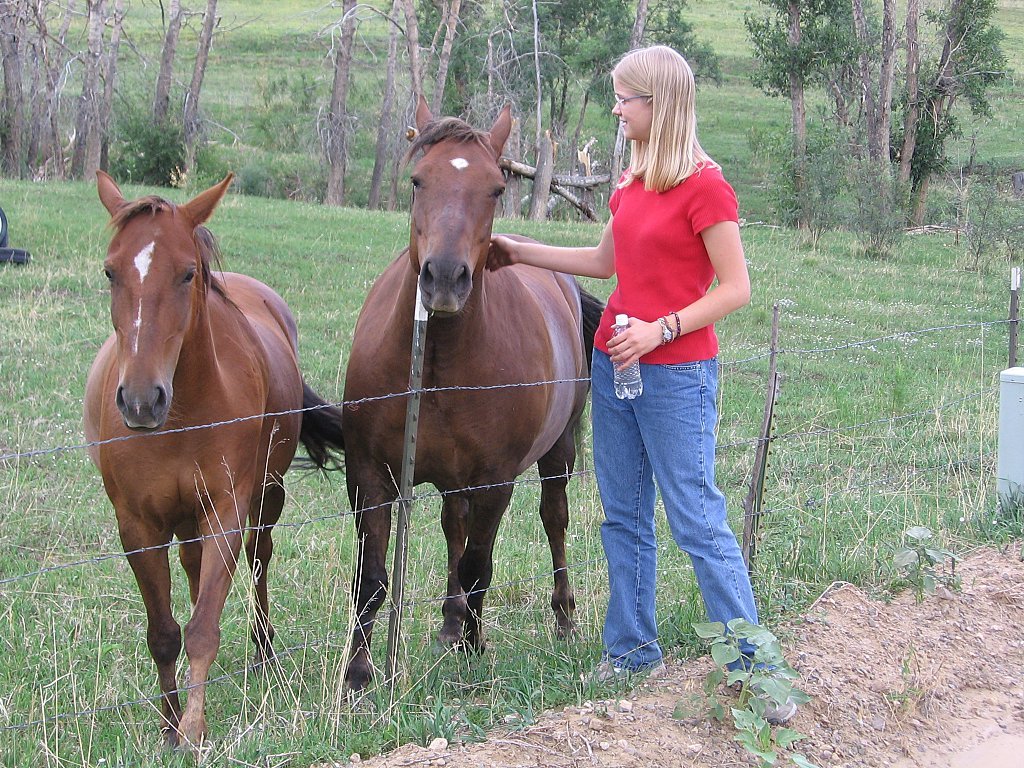
First, Grace picked up a new boyfriend.


I tell you, Howard all but made googly eyes at her! He’s tall, dark and handsome, and this boy had it baaaaaad. His mama, Honey, is keeping a close eye on the developments. (Grace is tall, but she’s not THAT tall – on flat ground, his back would be a little higher than her shoulder.)

Next, we hiked up to a high mountain meadow with our children


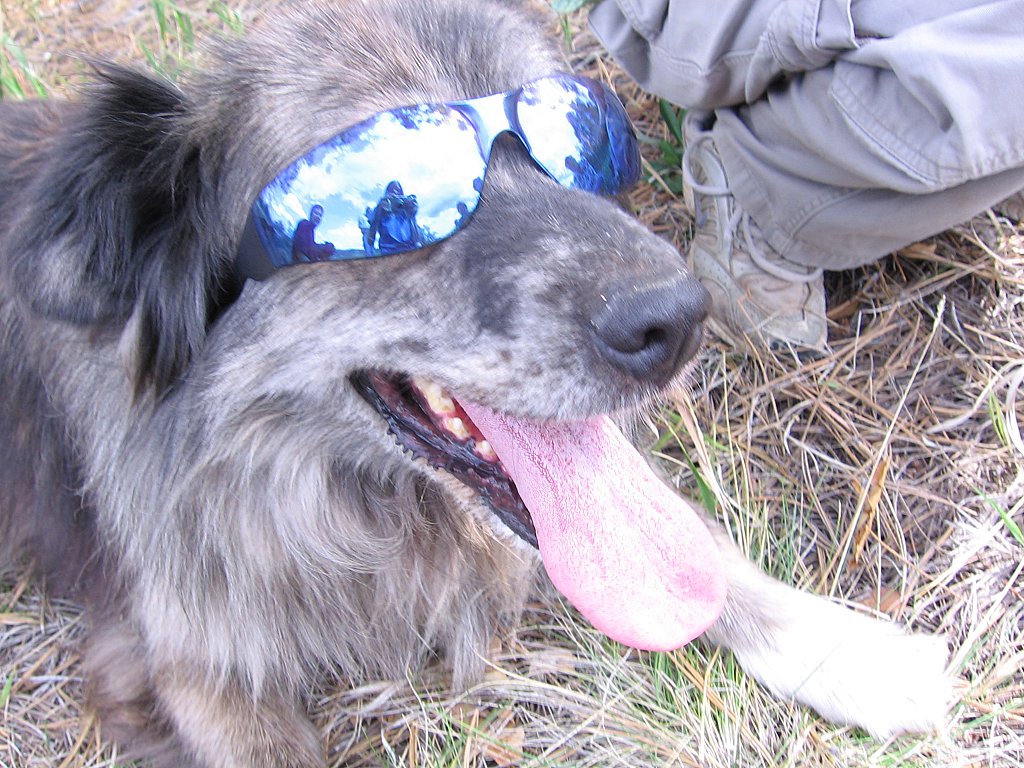
and dogs


and a watermelon. Thanks Sam for hauling it for us!


This was my first trip to this meadow, and all I can say is, WOW!


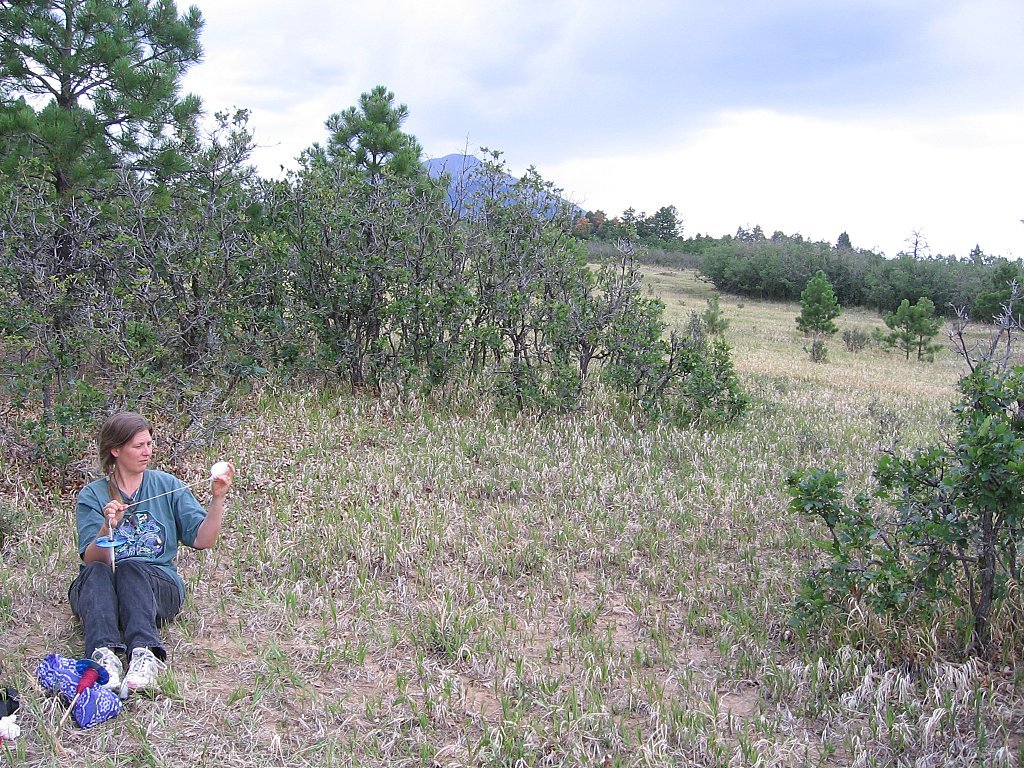
So... I sat Annette down and taught her how to spin. Just like that *snap fingers* she got it!

She’s a complete natural. Check out the Eastern Spanish Peak in the background. WOW!


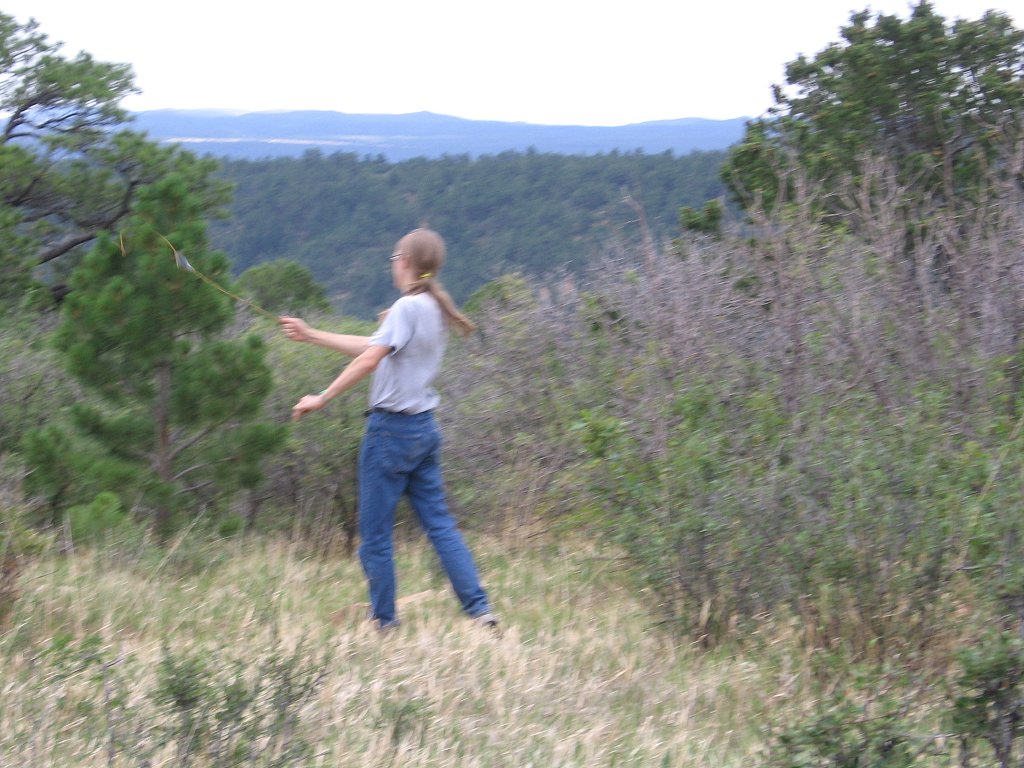
My son, Sam, learned how to use the sling that his friend, Spencer, made for him. You can just barely make out the sling - extending from his right hand, up towards the upper left hand corner of the photo. This sling is really nice, and we were all impressed by the nice ZING noise that it made.


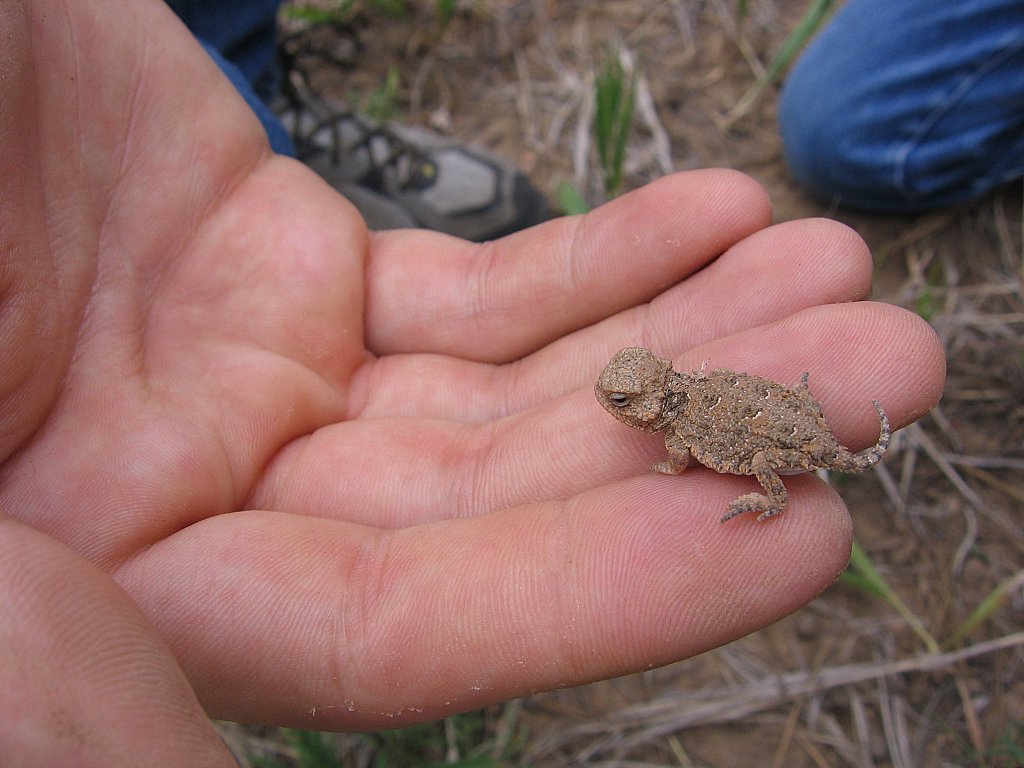
Sam also picked up a friend along the way – a tiny baby Horny Toad. Who would have thought that there is a space in a Horny Toad’s life when he or she can be described as “cute” but this little guy certainly is!


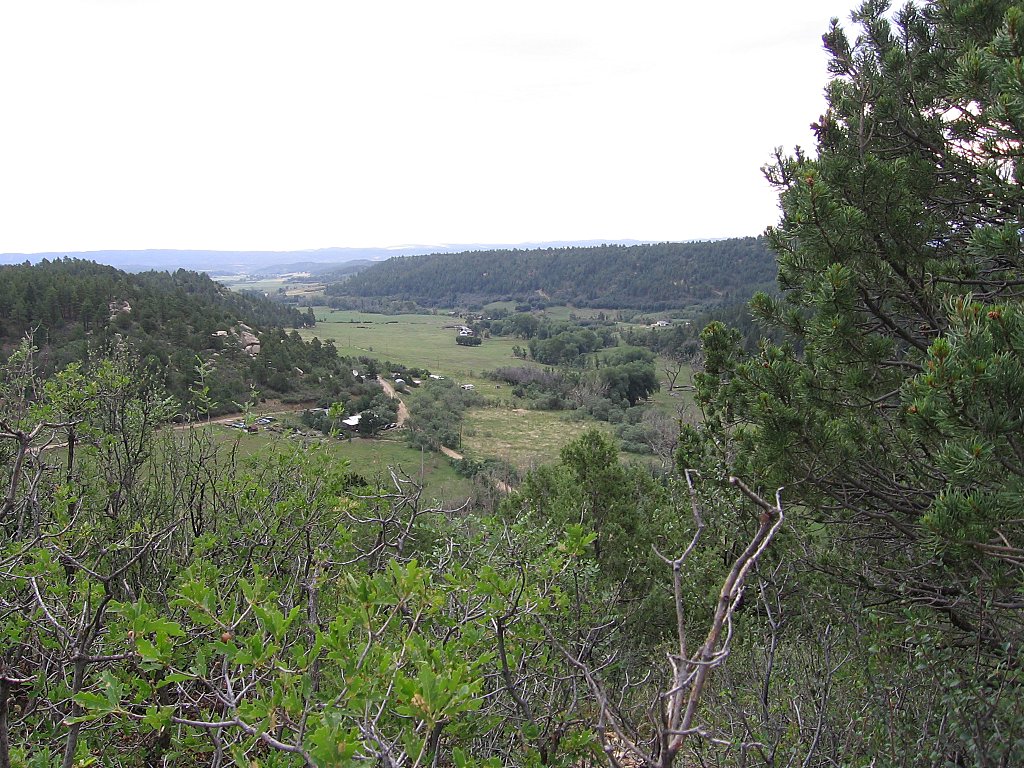
Back down the mountain to Annette’s house – see it – way down there? Her house is the larger of the white spots, to the left of center. Wow.


What a wonderful Day! Good friends, dogs, horses, hiking, mountains, meadows, spinning, and to end it all, an awesome electrical storm which necessitated candlelight at dinner – lots of my favorite things all at on one day! Thanks Annette!!! We had a great day! I hope you continue to spin!

Grace Sews, too!


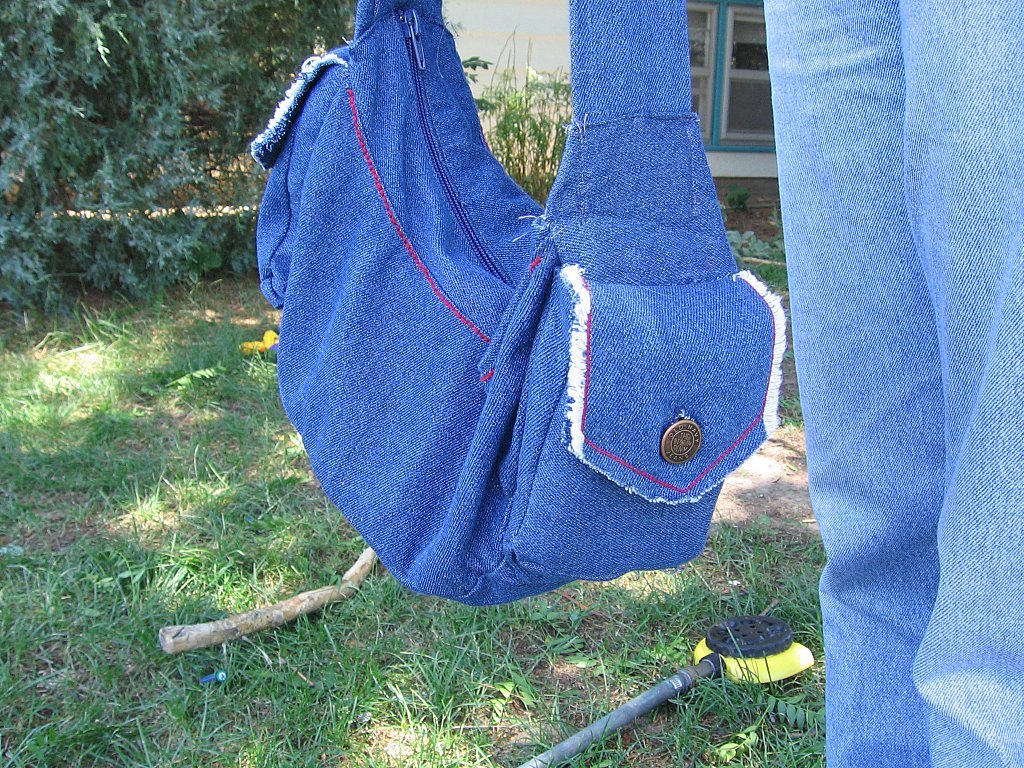
Teenagers and their cute purses! Grace designed and sewed this purse, and it's just too cute!


Cute little side pockets, and red embroidery trim.


Hot pink lining complete with cell phone pocket. In fact, I think that it was the cell phone which precipitated the whole project. She used a bandana for the lining, and left-over denim fabric from when I re-covered the playroom sofa for the purse itself. Good Job! (She tested it - it's large enough for a book. Whew!) Posted by Picasa