
You might like reading the posts where I discuss the progression of this design -
While it worked very nicely, and while I really enjoyed using it, setting it up and taking it down was a royal pain in the neck because it was all clamped together. Sooooo..... I decided to work on the frame and make it more user friendly.
Meet my new wheel! (All photos click for enlargement)

The base is the same,, but I'm using a different wheel - my garage is overflowing with spare wheels - and pretty much everything else has been replaced. But - LOOK! It folds up!

Everything can now slip into an 8 inch wide slot between boxes in my fiber storage area. Ten big shouts of joy over that one! Yay!
So, let me give you a tour of my new wheel.
First, let's look at some measurements. The wheel itself measures approximately 25.5 inches across.

Cleaning it of road gook is possibly the most difficult and distasteful part of the entire project. I hated that part - it took forever and I hated every minute of it. I cleaned all of the spokes, and I cleaned the rim inside and out (I didn't clean the hub), and how I hated that job. In fact, I forgot how I cleaned it - I used some sort of solvent and a lot of paper towels and I blocked it all from my mind.
I kept the same base as in the original version of the wheel, and the center part measures


spindle side measures just a little less. Why? Because I needed to make room for the wing nut. Oops. Poor planning. *blush* It still works just fine, and a little asymmetry is aesthetically pleasing, isn't it?

The base is made from previously used (and exceedingly bunged up) pine 2 by 4's.
The spindle arm measures about 16.25 inches long,

and is about 3.5 inches wide.

The wheel arm measures about 26.5 inches long.

Both of these are made of maple - the wheel arm is wider at the base

than at the wheel end

- it came that way from the lumber yard and this is why it is sitting, unused, in my garage. Like I said, my wheel is a little asymmetric, and this is perfectly OK with me.
So that my wheel can be folded and moved about, I felt it necessary to peg the arms in place so that they don't flop around while in transit.
Here you can see the peg for the spindle arm - one of an old pair of knitting needles which I made for some project a while back. They are made out of oak, which makes for a poor knitting needle, but which makes for an excellent peg.


I put the peg back into the base so that I don't lose it. I lose lots of things, and I have cats who help me lose things, which only makes matters worse. You'll see that it is in numerous spots on my table throughout this photo shoot, but in reality, I store the pegs in their holes when I'm spinning. Really, I do, lol.


The arm rotates up and then I tighten the eye bolt and wing nut to hold it into place. I picked eyebolts and wing nuts for this project because I didn't want to have to depend on tools. That was before I discovered that I'm made out of some wimpy stuff because they still hurt my fingers.... sooo..... I made this little wrench out of some left over maple - it works great!

I operate the wing nut with the maple wrench, and I stick the peg through the eye bolt so that it can lever against the table top, and it prevents the eyebolt from just turning around and around.

It works fantastically, and no hurt fingers! yay!
The maple is left over from this awesome counter top, made by handsome husband,

Here are more views of the pegs and the wrench,
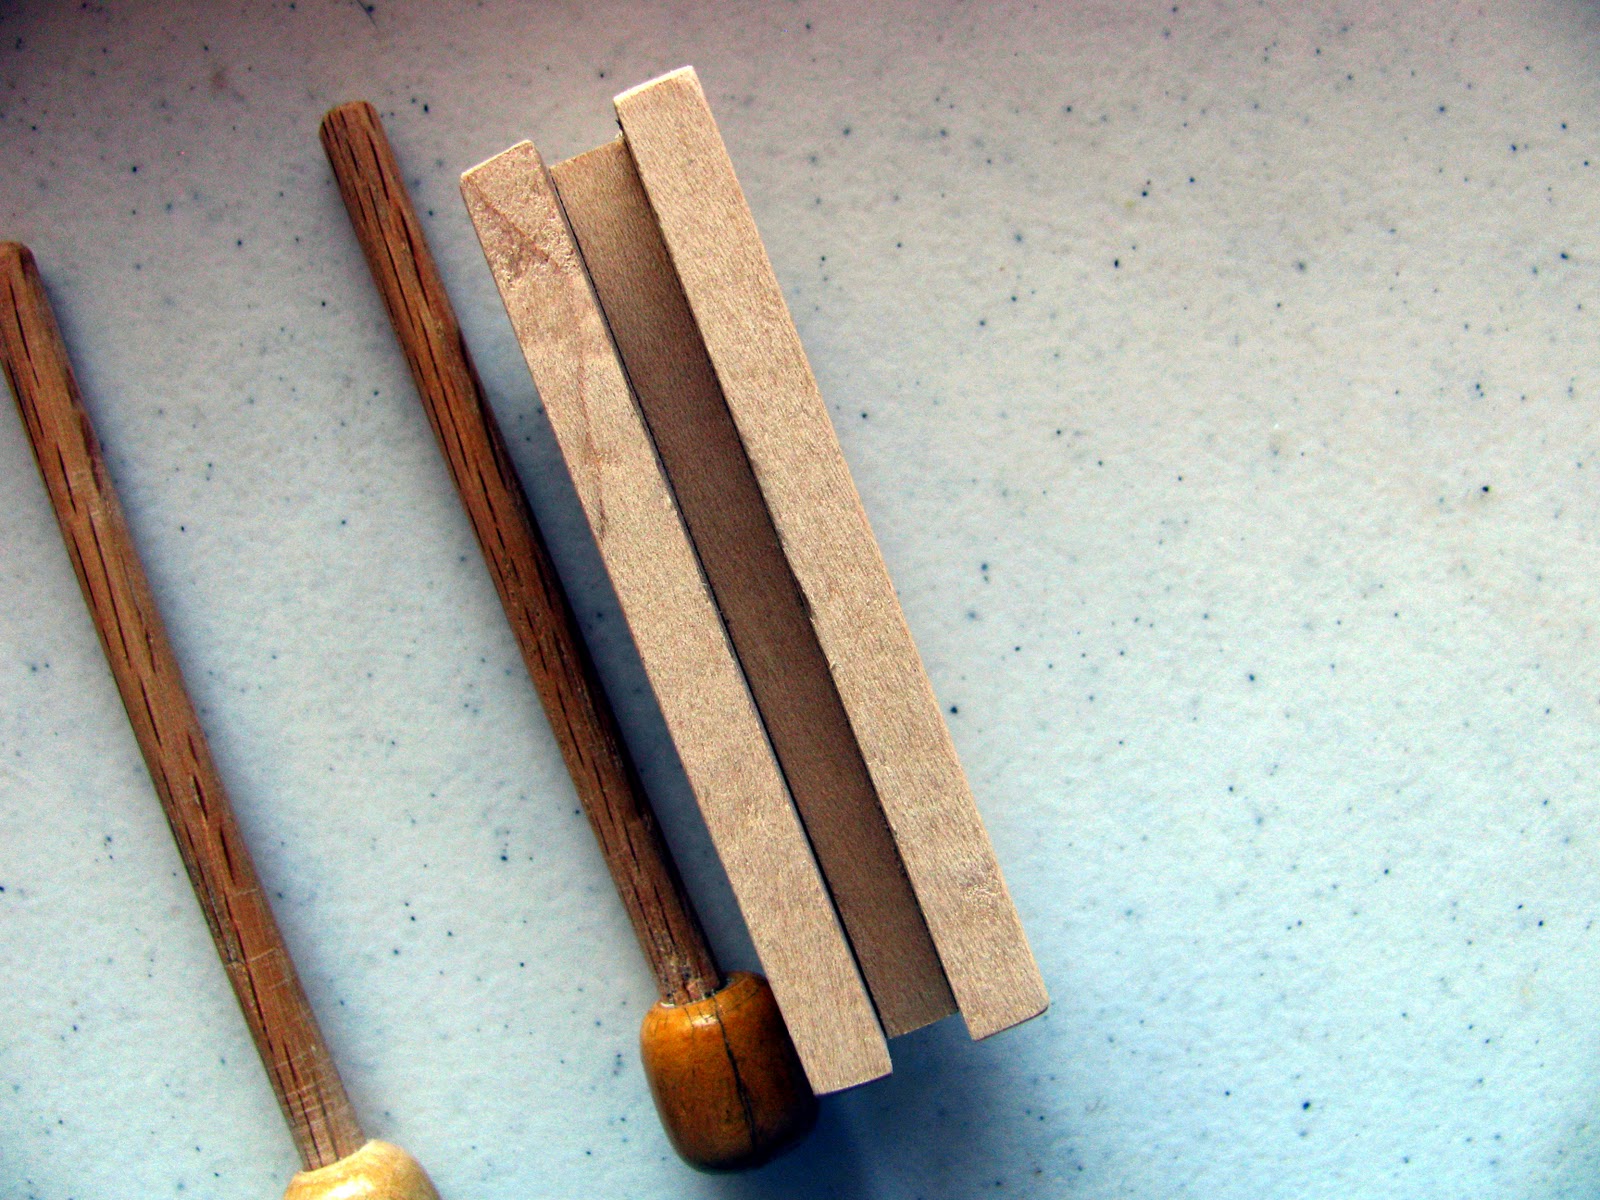


and the wrench stores in the wheel arm peg,

After these photos were made, I added two little brass screws, one on either end of the wrench, just because I never really trust gluing these things together, plus the little brass screws look nice. I'll have to show you sometime.


The spindle arm has a rounded base so that it can easily swing into position, and also so that it can be tilted one way or the other as needed. It works great. The wing nut doesn't need to be tightened ferociously tight, it just needs to be tight enough so that the arm stands up. Once you get it set, it stays there during use, even though you would be able to move it with light force.
Moving right along.... the spindle holder -

I swing it up and tighten it into place. I'm using the same spindle holder, or "spindle head" (is this even a correct term?) that I've been using for quite a while now. It works great. I've made a small change to the point where the band hits the spindle, but I'll get to that later.
Next, it's time to raise the wheel arm. It folds down onto the base and rests on two little dowels, and it gets held in place by the peg that you saw earlier.


You can barely see the pegs in the center and to the right, under the wheel arm. You can see the holding peg on the left.
I start by raising it so that it stands vertically, and I gently tighten the nut.


It doesn't need to be really tight, it just needs to hold still for a little while.
On the arm, you can see two copper straps.

Years ago, I cut pieces from a copper pipe, flattened them with a hammer and anvil, drilled two holes in them and then bent them in such a way so that they held a basket onto my baby stroller. The baby in question is now almost 21, so you can see that I never throw anything away, heh. I am thrilled to be able to use them for this project.
I flattened them out again,

and mounted them on the wheel arm. I mounted them at a slant because they wouldn't fit crossways. There are wingnuts on the other side.

The bicycle wheel is mounted onto a file,


because I had a file and it was handy. You might be able to find something else lying around which would work even better.
Looking down the wheel arm, you can see where the file will fit.

It seems like it ought to be difficult to lift the wheel onto the arm, but surprisingly, it's not - I was able to do it onehanded, and still take photos of the operation, which sort of surprised me.


The wingnuts need to be only barely tightened - they really aren't holding anything in place, gravity holds everything together nicely.

Be sure that the wheel is sitting on the arm like in the photo above, and not like in the photo below.

Next, I lower the arm out to the right in the proper position, and I'm ready to spin!


This is enough for one night - next time we meet, I'lll show you how to set up for spinning. In the meanwhile, here's a photo to prove that it actually does work!

Stay tuned!
Encourage one another...

Stay tuned!
Encourage one another...


19 comments:
That's absolutely amazing. I am stunned by your ingenuity, because I can't assemble a flashlight without copious instructions.dis
I want to grow up to be you, Rosemary. I love the folding factor and the "everything has a place" concept. I love the environmental aspect and the simplicity. Well done!
Wow this is awesome!
You've got some very creative solutions there! Well done!
That is absolutely amazing. I want to learn to spin and can't afford a wheel. I can do this though. Thanks for posting this in detail
Utterly gobsmacked by your creativity, ingenuity & generosity in sharing this with all of us!
Are you writing a book?!
Thanks, everyone! You are all too kind.
Wondermike, I'd love to write a book, but what would I write about?
Thanks again!
Rosemary
Um, making a wheel out of wood, a bicycle wheel & a knitting needle... in your garage!
Seriously, I think you've probably got several books germinating.
you is awesome woman. i ♥ you. you can write a book on anything and i'll buy & read it. :) but please, stop tempting me to take apart my bike and build a new spinning wheel. i hates my bike.
I'm impressed! Really, really cool! I'm gonna try to make one!
I love your bicycle spinning wheel. It inspired me to build one of my own. Try turning your "spinning head" around so that the spindle pulls away from the block of wood instead of being pulled against it. It will spin with less friction and less noise--no plumber's tape needed. Thanks for sharing your ideas.
Trazel, thanks so much for your comment! I have tried the "pull away" setup, but I found it to be quite wobbly. I think that my rope is too stretchy? Anyway, I'm thrilled that you built one, too! Happy spinning!
I can't believe I'm the first person to comment on how the phone number on the yardstick is only THREE numbers!
I've been wanting to build one of these. Thanks for sharing.
I love this!!! One of my friend's house just burned down and, in addition to most of his pets, he also lost his two antique spinning wheels and all of his unspun wool... I immediately started looking for something that was cost efficient to make him for a new house warming/sympathy gift... This fits the bill exactly!
Hi, I don't have any experience spinning and want to build my own because I can't afford a new one and I have a question, how do you get it to spin? I didn't notice a pedal. THANK YOU!!
Holly, you turn it with your hand.
amazing really ! i finally read your blog and i just could not believe it ! i am now trying out the Navajo drop spindle in my wooly world .THE BIG ONE so my beginners fingers won't have so much of a problem. i really prefer the big knobby /thick/thin handspun wools . also this was regarding a loom i now am the owner of two big beautiful looms and now am perfectly happy ! bring on the wool ! MY THANKS P/S you really are a great writer ! Liza Briem
Post a Comment